One of the things I’ve written about in previous posts is the importance of digitizing your collection. Whether it’s a photograph collection, or document collection, it’s important to have a digital version of it. Here I’m going to outline why digitization is important and in future posts we’ll go over how to do that and what to do with that digital collection once you have it.
Why Digitize Your Collection
This is probably the biggest question and the most important one to answer first. One of the biggest reasons to digitize your collection is to have a digital record of it, which is useful in a variety of ways: Keeping track of what you own (catalog), insurance purposes, easy reference (where is that tintype again?), research (how nice is it to zoom in on photos?), and preservation. I am harping on this topic because I have run across too many collections and even personal family photos that have never been digitized, and this day and age, it is important to do that.
Keeping Track of What you Own
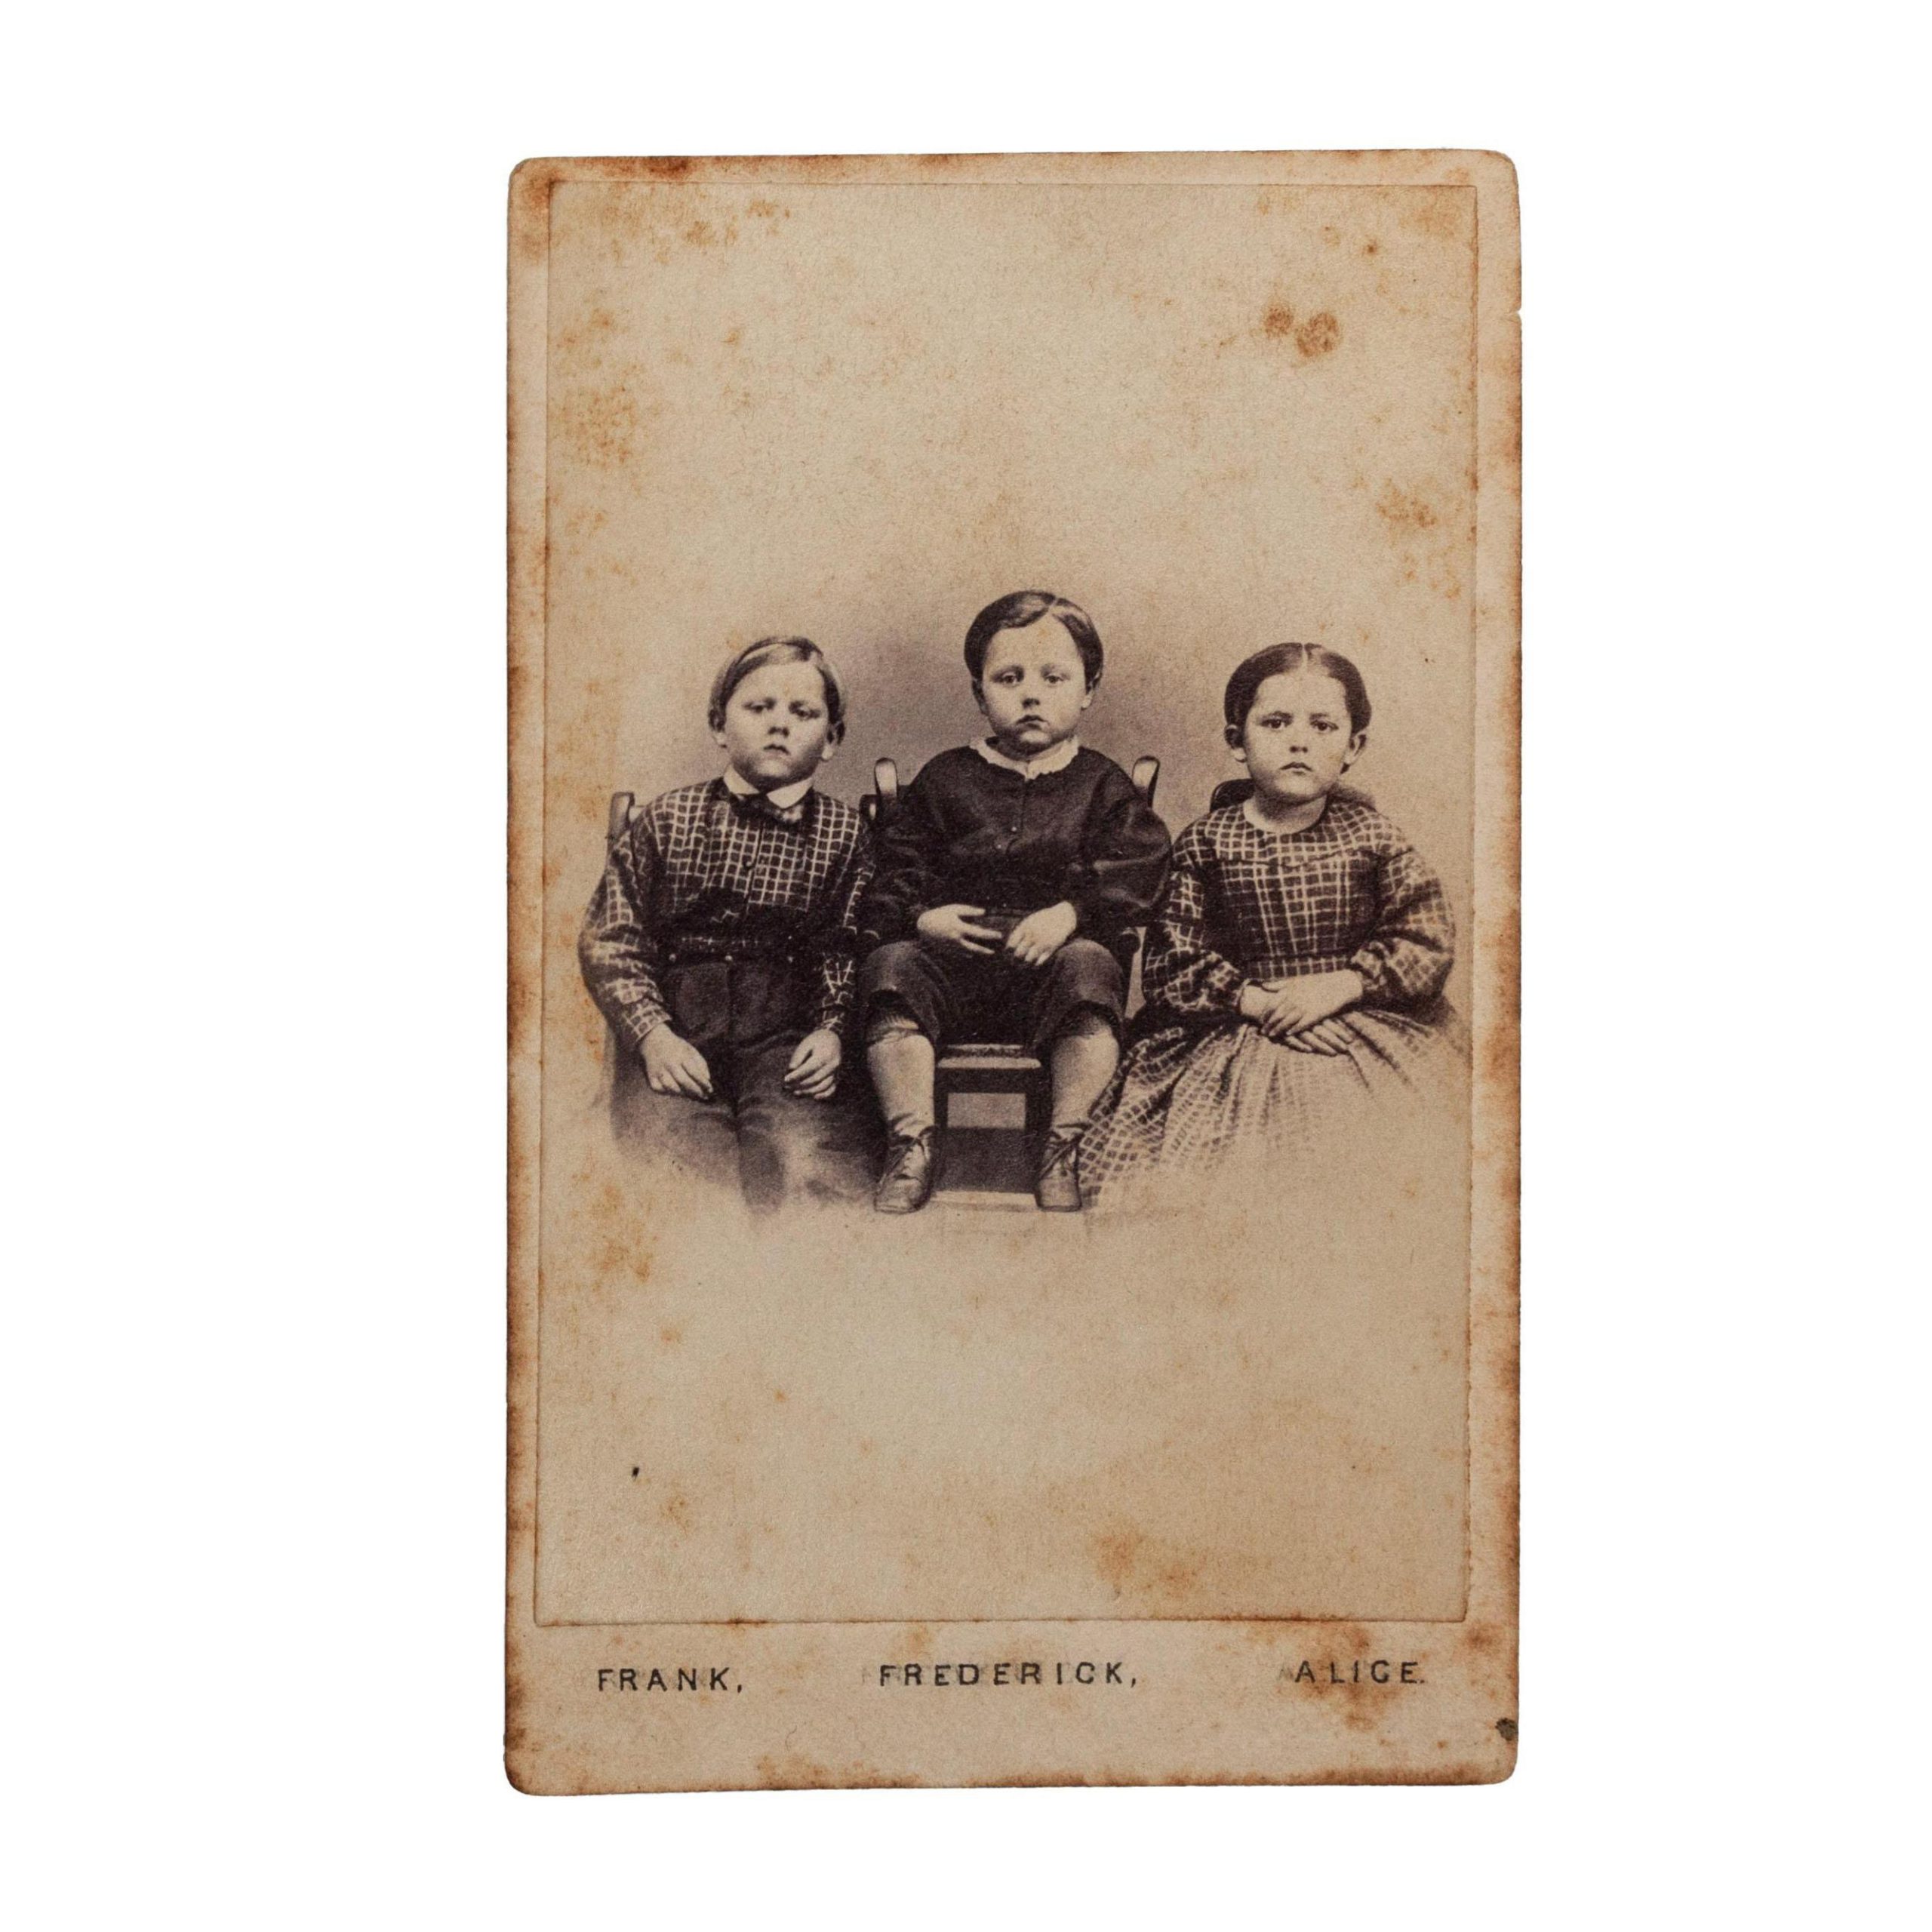
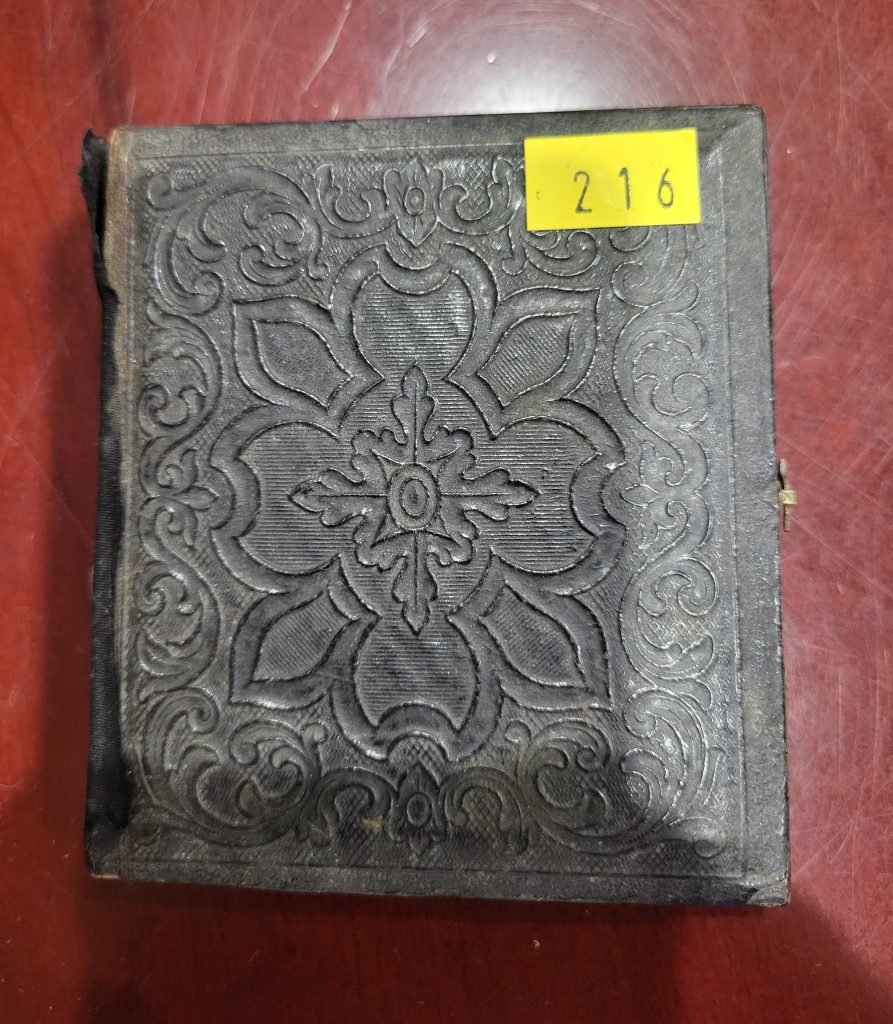
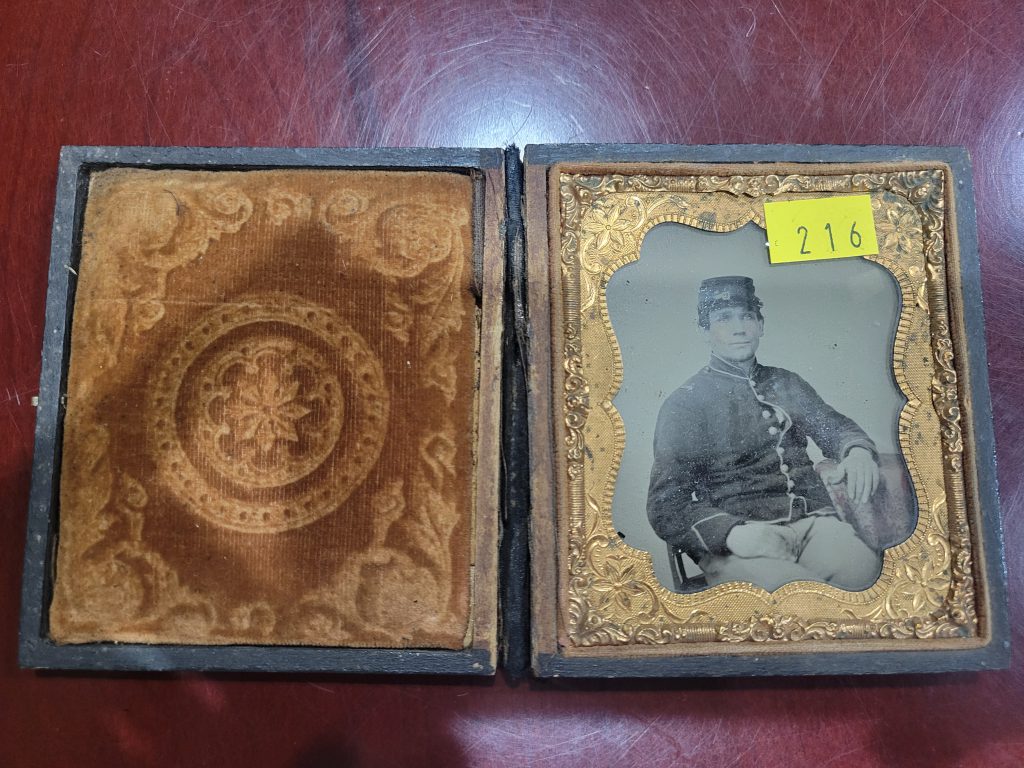
This is a big reason for the collectors out there. How many of you have wandered through a show and saw a photo and wondered if you already had that one, already had one from that regiment, or thought maybe you recognized the individual, but couldn’t identify them? How nice would it be to have that information with you at all times! This is entirely doable with the catalog software currently available for museums and collectors.
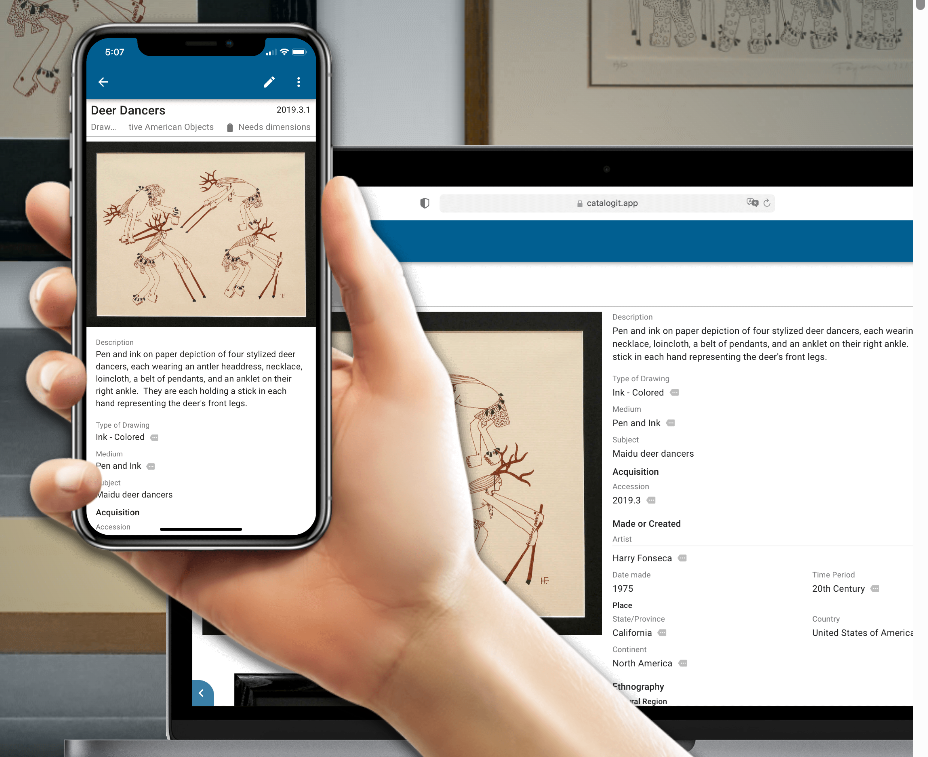
I’ve recommended CatalogIt in past posts on the importance of cataloging your collection, but here I want to emphasize the fact that because it is cloud based and has a companion phone app, meaning you have your collection with you on your phone at all times. Now, I would recommend creating substantive catalog entries, but if you create even just the most basic entries with attached photos, you will at least have a visual record of your collection. If you add more information like photographers, subject names, regiments, etc., then you will have an even more powerful tool with you when you go to those shows. This software will also track what you pay for items in your collection, so if you want to know if a particular photo is a good deal or overpriced based on what you’ve paid in the past, you have all that information too.
Insurance Purposes
This is a topic no one wants to think about, but it’s a necessary one. If you have a large collection of historical memorabilia, it’s a good idea to have it insured. And to do that you’ll want a good digital record of it backed up somewhere in case the worst should happen and you have to file a claim. It’s a dire motivation to be sure, but something important to consider.
Easy Reference
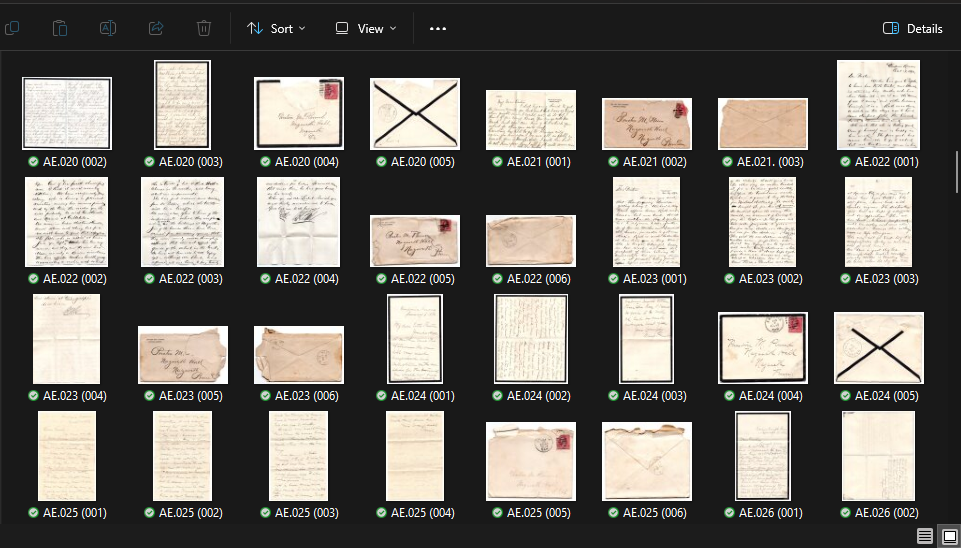
This dovetails nicely with using catalog software, but if you even just have digital image files on your computer, you can organize them by type, subject, photographer, etc. Once you have them organized it can make it much easier to find the item you’re looking for so that you do not have to go through your collection digging for them.
Easy Research
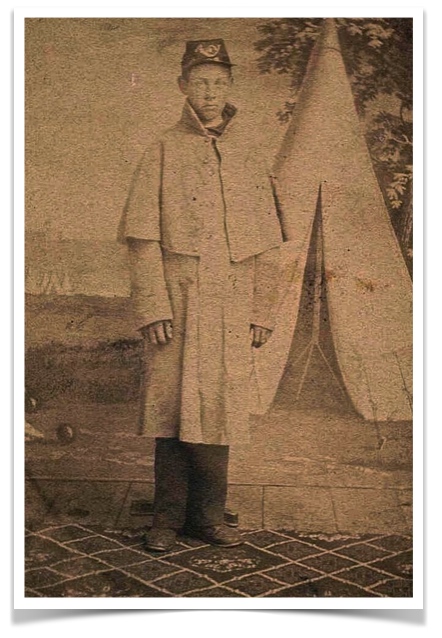
This ties in nicely with the previous reason because once you’ve found that particular image now you can look at it easily on your computer. You can zoom in and read writing that is too small, see minute details in photographs, and spot equipment, recognize faces, etc. All because photographs are much easier to see on a computer when properly scanned than from a print.
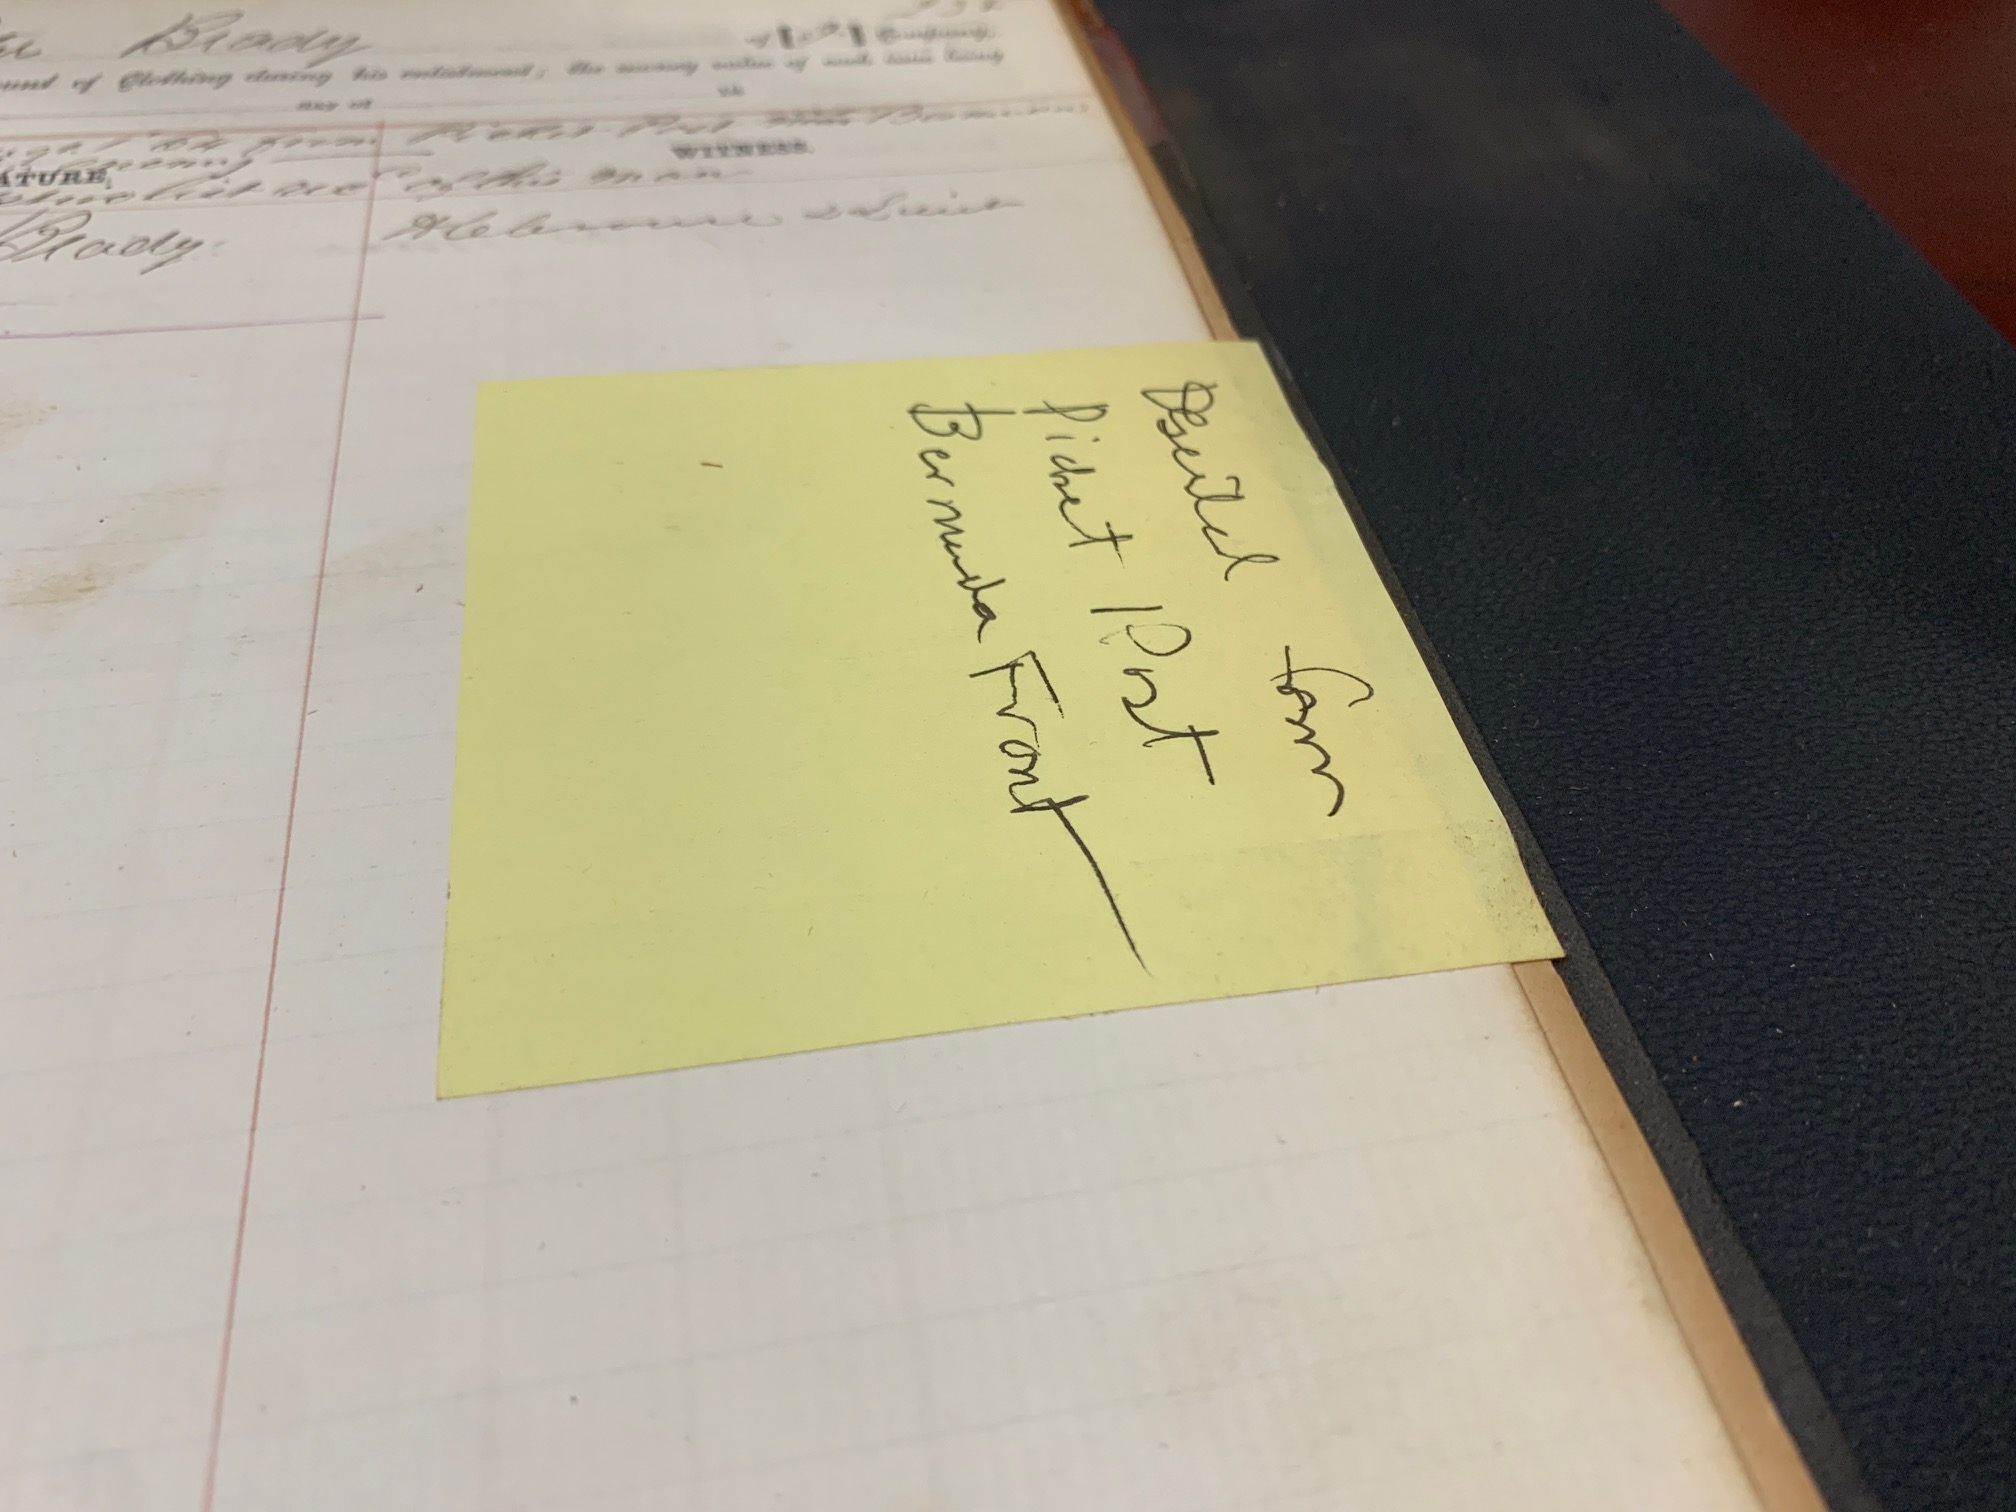
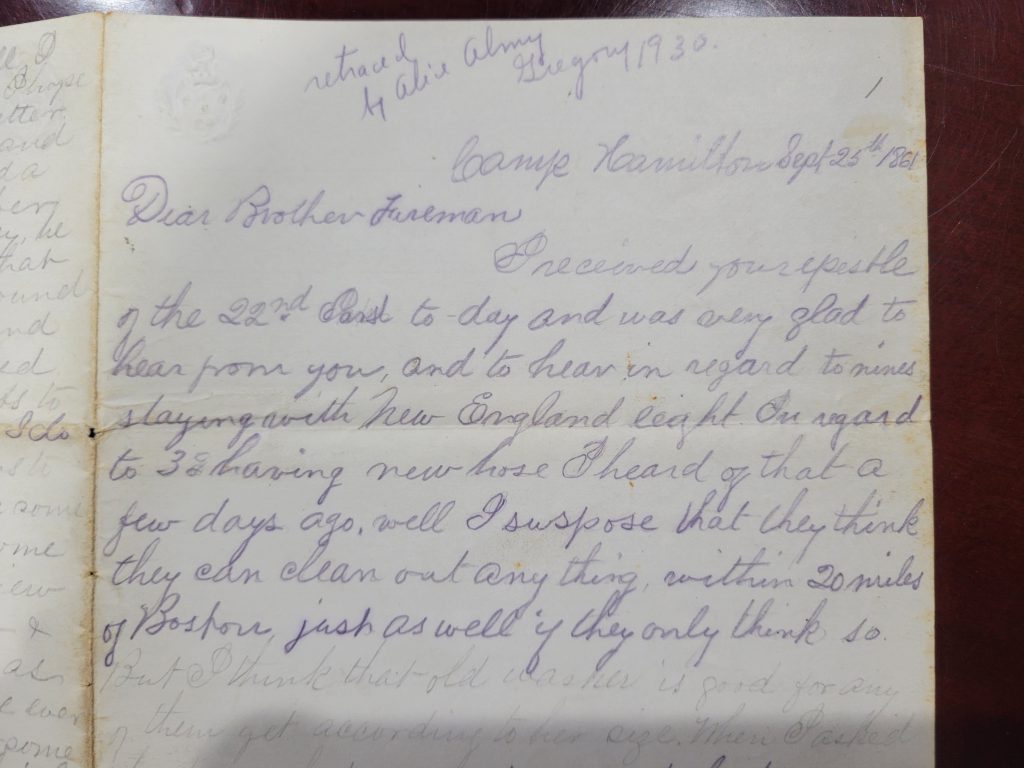
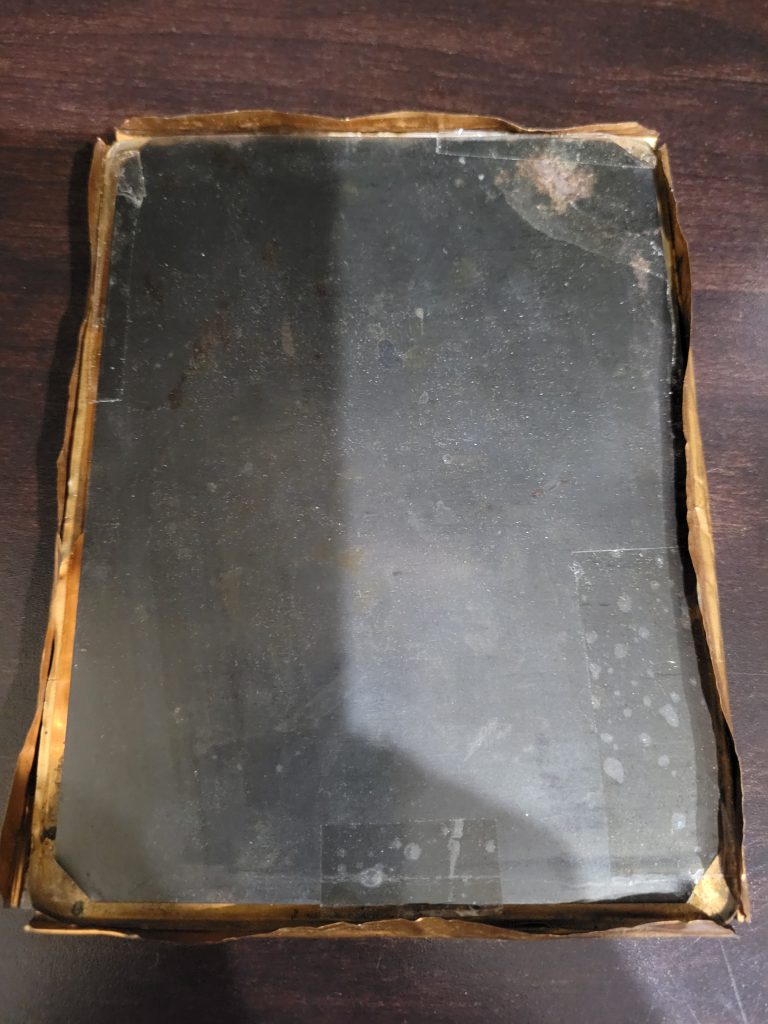
This is also helpful with documents. I have mentioned a couple times in past blog posts the Civil War letters I’ve found that have been traced in ballpoint pen. If you have a letter that is difficult to read you can scan it, and adjust the contrast, levels, etc. digitally until you can read. No ballpoint pens necessary! Seriously though, please don’t use the ballpoint pens…
Preservation
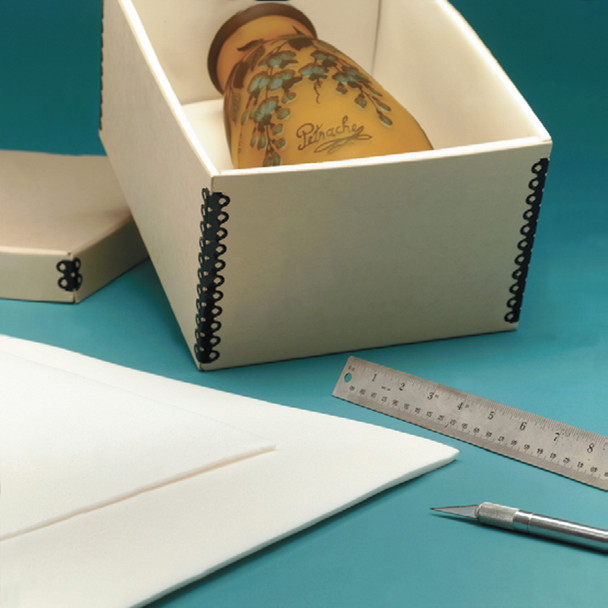
This is the last “why” of this post but certainly not the least. As museums or collectors, historic preservation is one of our most important—if not the most important—thing that we do. If we don’t have the budget to create a nice flashy exhibit, let us at least make sure that items are not degrading in our care.
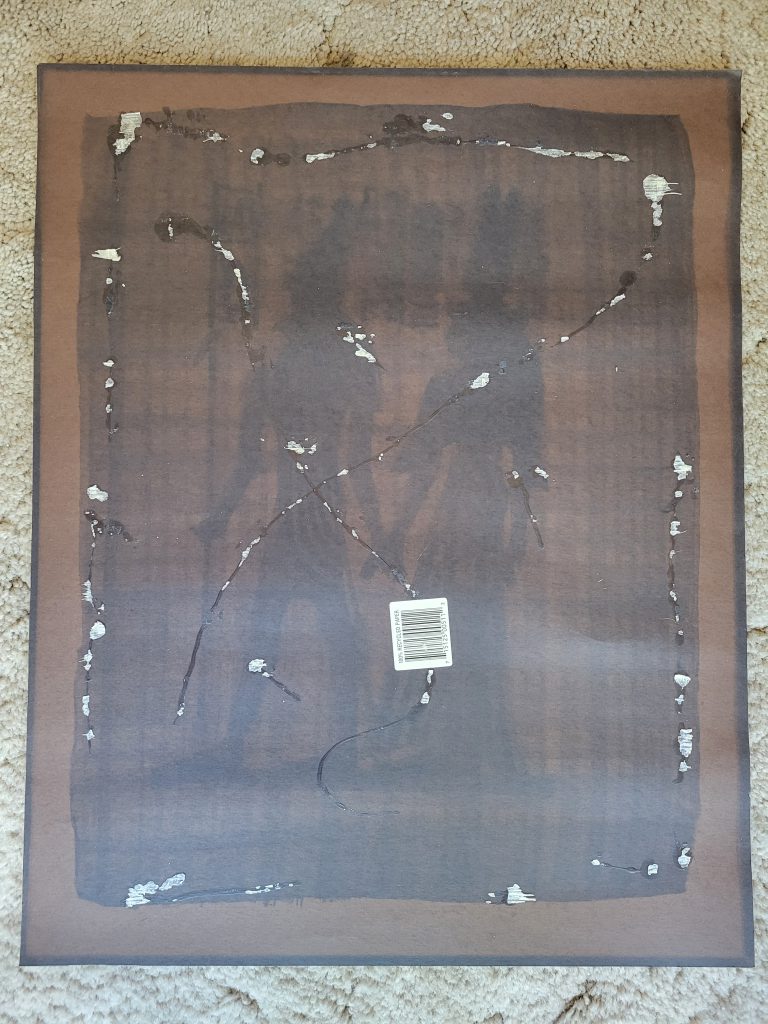
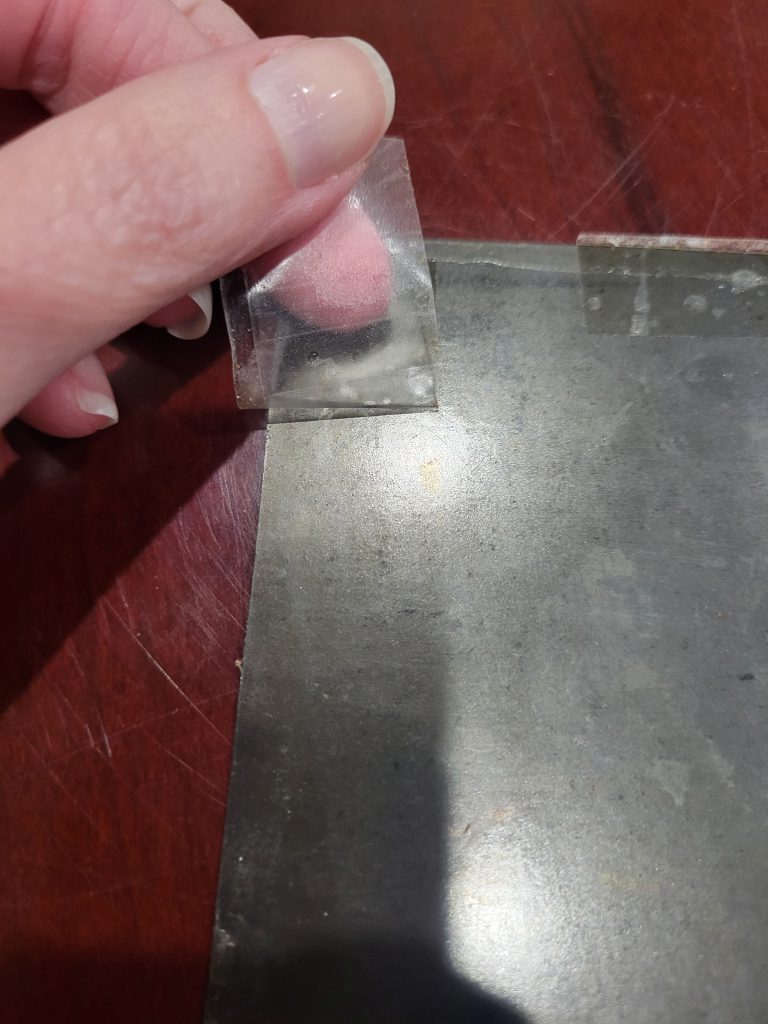
Every time an item is handled it breaks down. No matter how careful you are or how gentle you are with it, it breaks down. We’ve all encountered those old books and newspapers that seem to just crumble as you look at them. Sometimes it’s not even about how gingerly it’s handled, it’s just the fact that the item in question is so old and so fragile that it cannot be helped. This is why digitizing your collection so that it does not have to be handled is so important.
If you want to look at a specific photograph or read through an old letter again, you can look at the digital version knowing that the original is safely tucked away in archival materials. This ties into that responsibility we have as collectors to make sure that we are good stewards of this history—while we have it. If we do our jobs right, these items will outlive us all and be around for generations to come.
In the next post I’ll go over some digitization tips that may be of help to you if you decide to take the plunge and start scanning your collection. Or, if you decide to punch up your current digital collection with additional scans or cataloging.