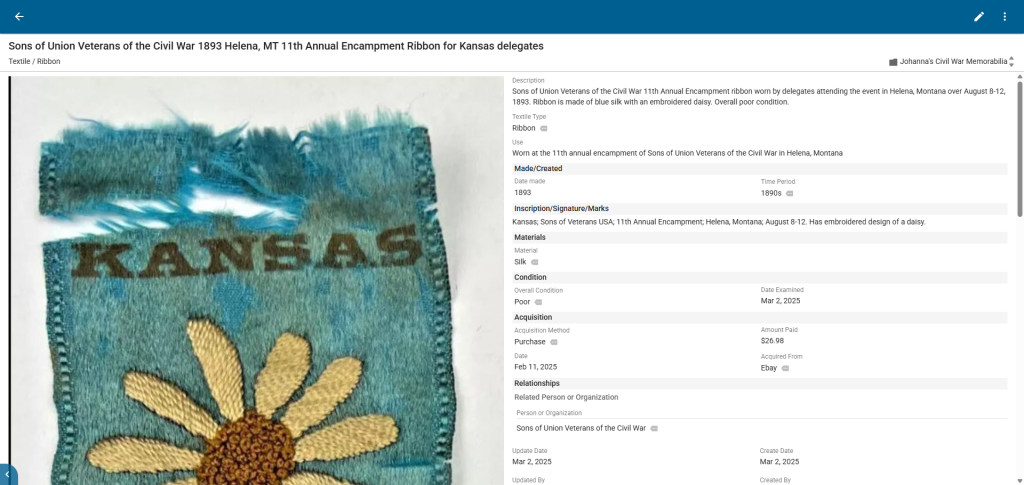
The Importance of a Well-Documented Private Collection: Part 3, Software
The Importance of a Well-Documented Private Collection: Part 3 The last two weeks we’ve discussed the importance of a well-documented private collection, and this week we’re g…
The Importance of a Well-Documented Collection: Part 2, Purchased Items
The Importance of a Well-Documented Collection: Part 2, Purchased Items Last week’s post left you with some instructions to take a cursory look at your collection. Where and w…
The Importance of a Well-Documented Private Collection: Part 1
The Importance of a Well-Documented Private Collection: Part 1 I have discussed the importance of cataloging your collection over the course of a few blog posts in the past,…
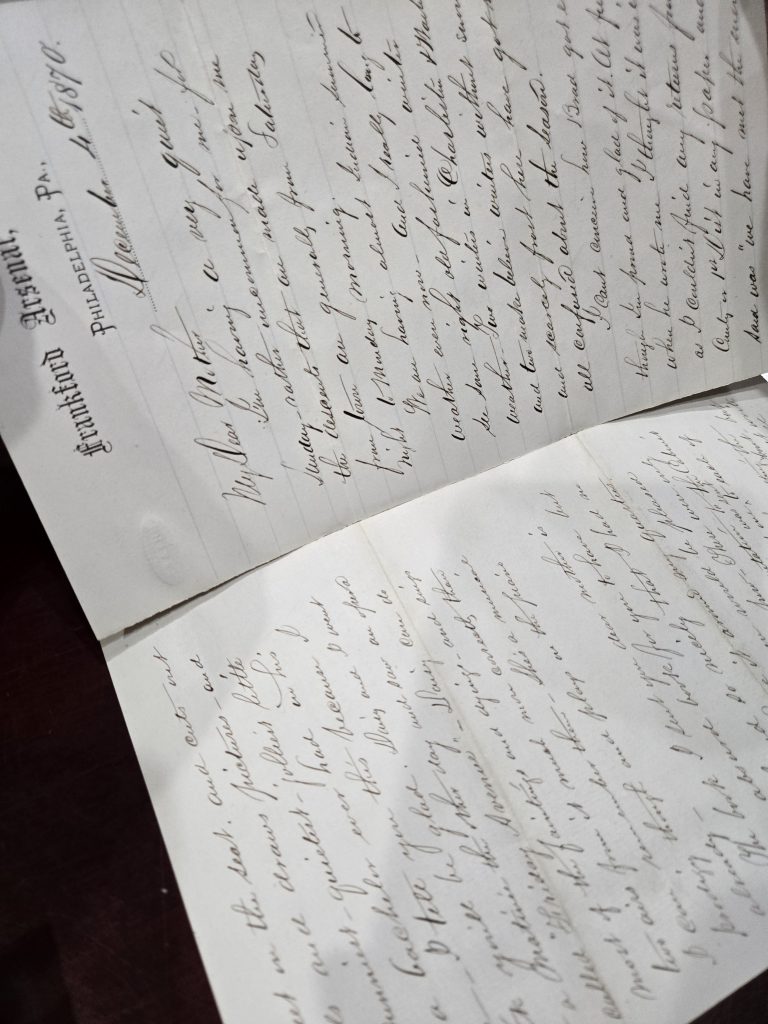
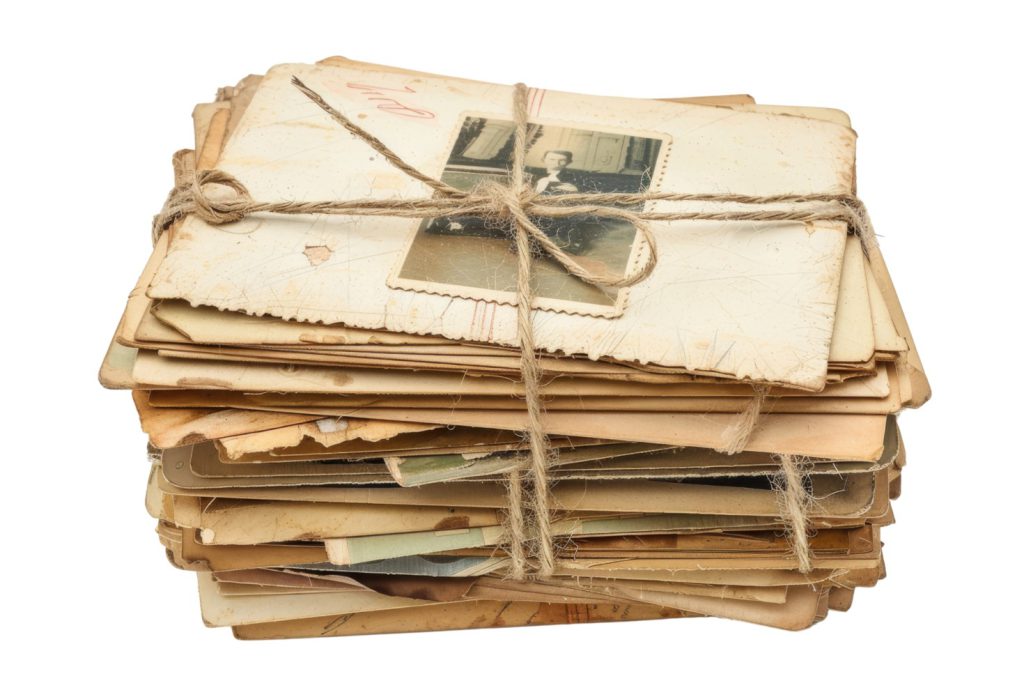
How to Store Historical Documents
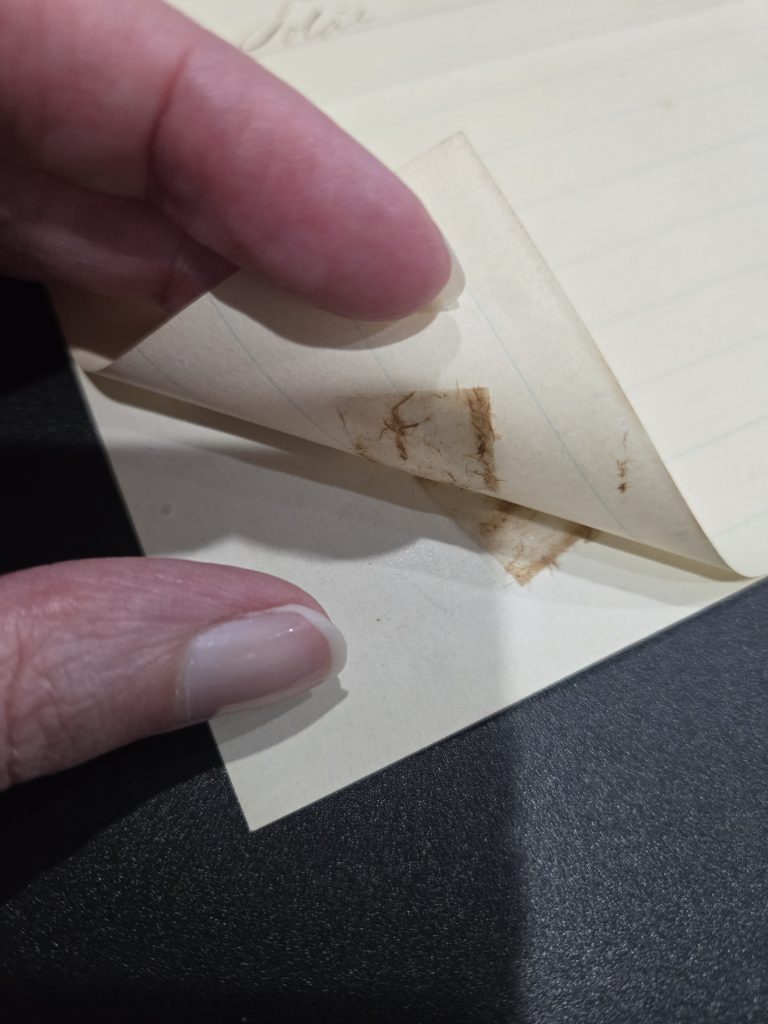
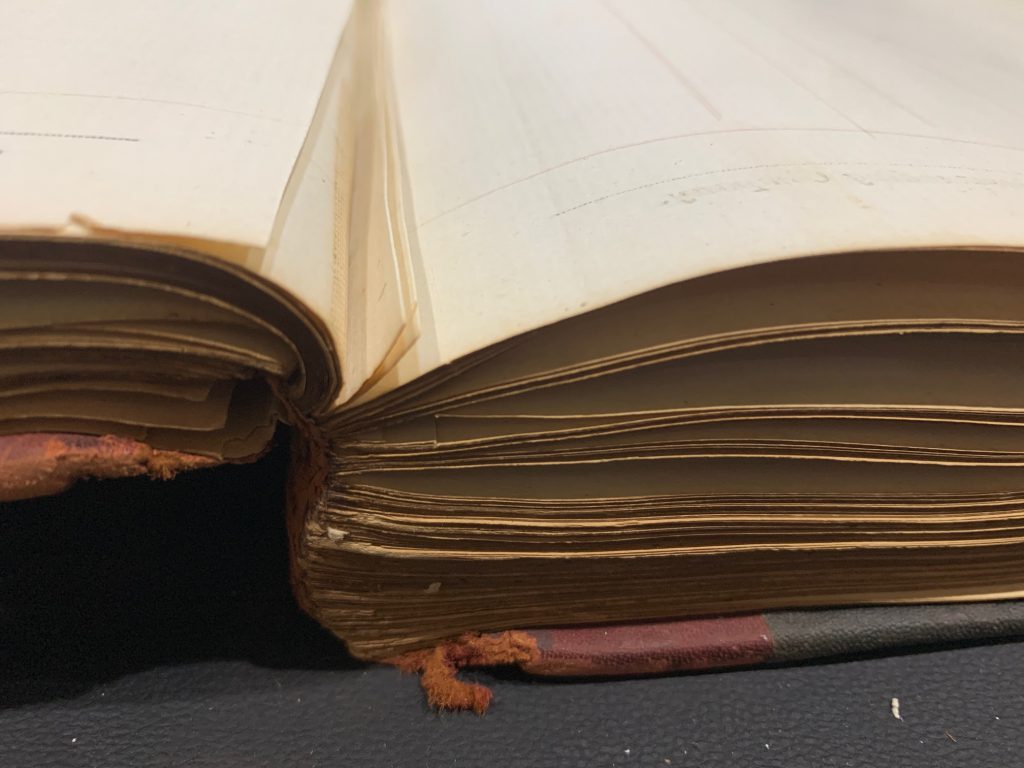
How to Store Historical Documents This week while scanning some Civil War letters I ran across damage that I’ve seen all too often with old documents that have been folded. T…
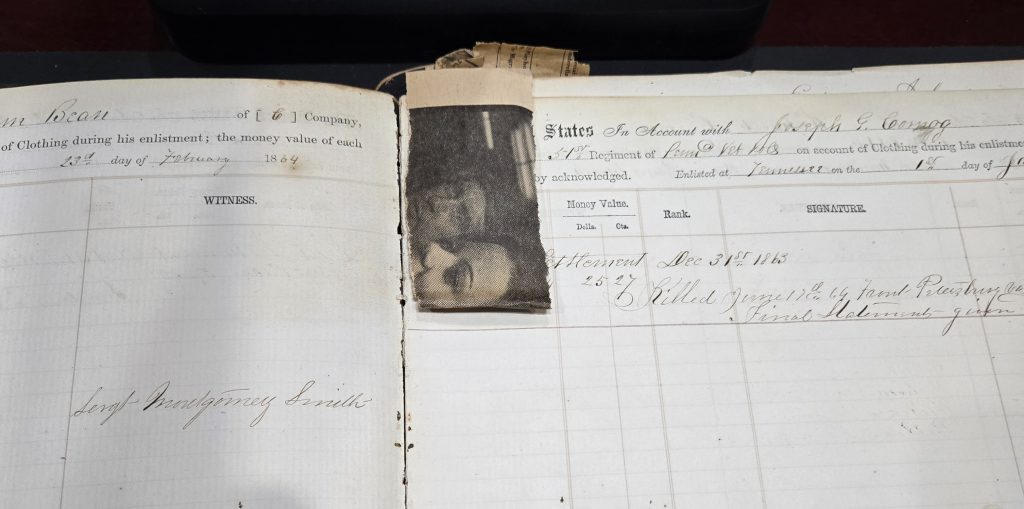
Angry Archivist: Newspaper Bookmarks
Angry Archivist: Newspaper Bookmarks This week, we were scanning new material to add to our Research Arsenal database. This is always fun because you never know what historic…
Angry Archivist: Disappointments of the Week
Angry Archivist: Disappointments of the Week This week, we spent a day scanning and cataloging new material for the database, and unfortunately, I found some Angry Archivist…
Safe Lighting for Exhibiting Your Collection
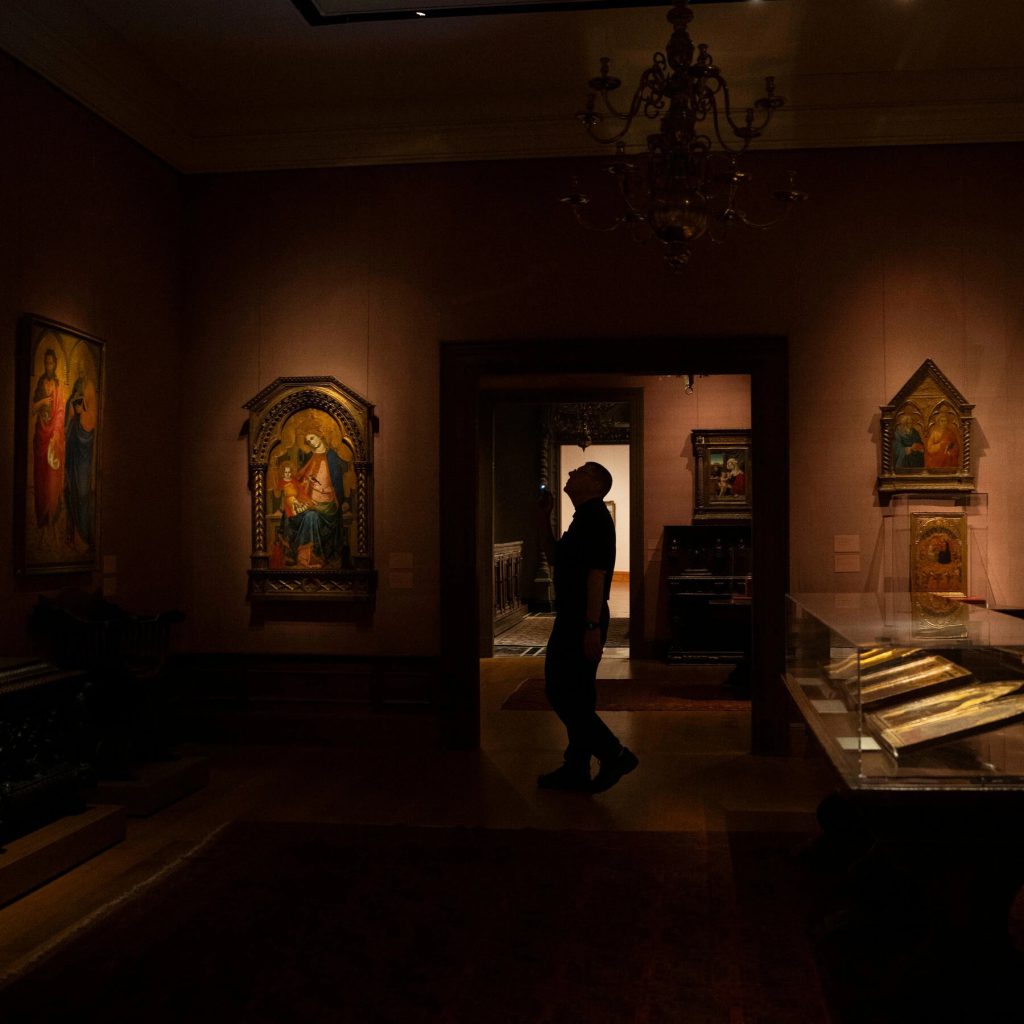
Illuminating the Past Without Destroying It: Safe Lighting for Exhibiting Your Collection When we walk into a museum or gallery, the first thing we often notice is the light….

Collection Preservation Tips From The National WWII Museum
Collection Preservation Tips from The National WWII Museum Although the National WWII Museum is a bit further forward in time than Civil War collectors, the concept of…
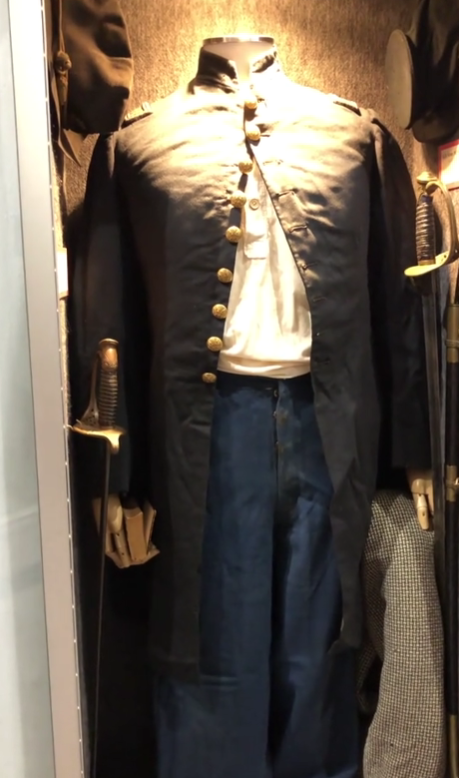
8 Tips for Displaying Historic Clothing at Home
For private collectors, historic garments are not just beautiful objects — they’re tangible connections to the past. Displaying them at home allows you to share their stories …
Angry Archivist: Cutting Up History
Angry Archivist: Cutting Up History Don’t you love it when you sit down to read through a historic book and someone has cut pages out of it? Isn’t that wonderful? No? I did…
