The Importance of a Well-Documented Collection: Part 2, Purchased Items
Last week’s post left you with some instructions to take a cursory look at your collection. Where and who did you get your items from? What did you spend? What research have you done on your collection? Do you know where all of it is? Etc. If this was a bit of a challenge, that’s okay. Now that you know where you stand with this information, you can start to organize it. As I mentioned last week, this will be very helpful for you, but also for your loved ones should anything ever happen to you. It’s not a pleasant thing to think about, but it is a sad reality that will eventually happen. Our collections always outlive us, just as they have the original owners.
Sales Information with Purchased Items
This week, I want to focus on the information that comes with purchased items, what to keep, and why that can be helpful.
Previous Owner
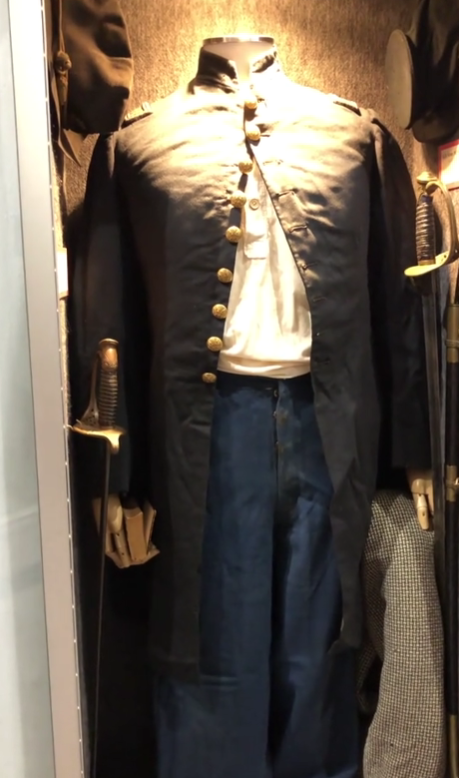
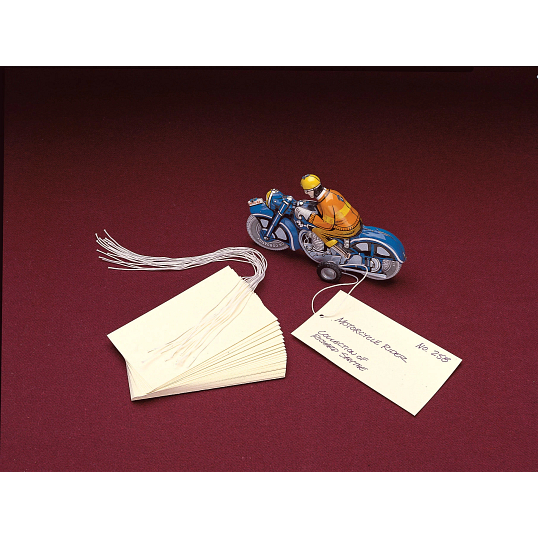
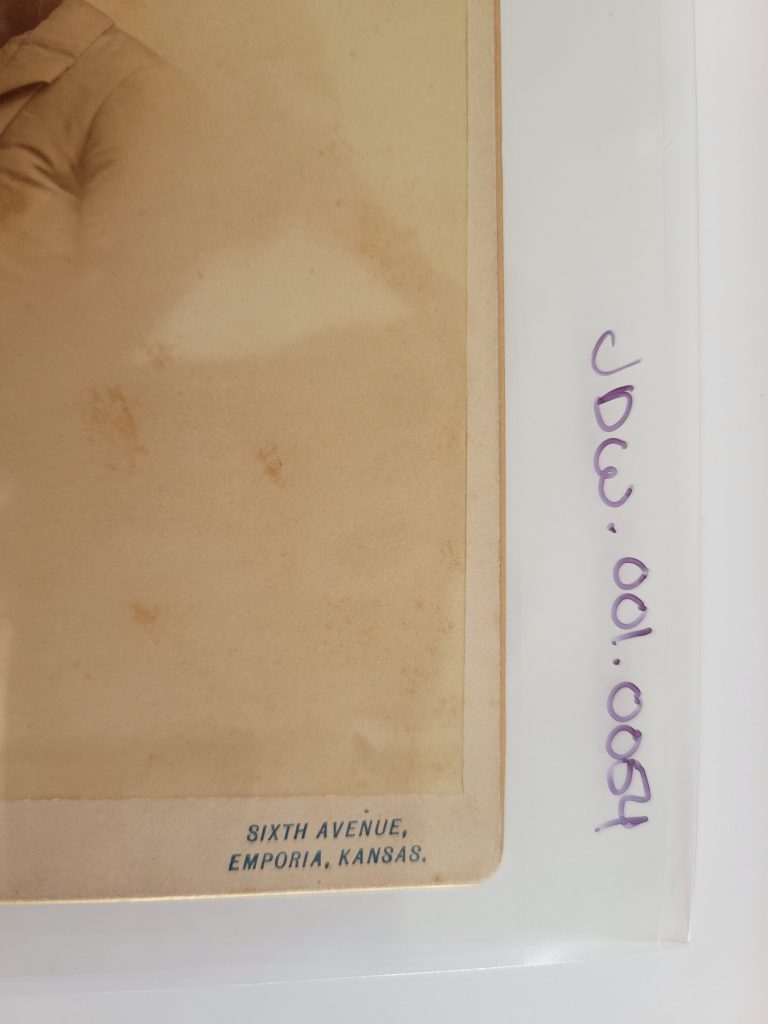
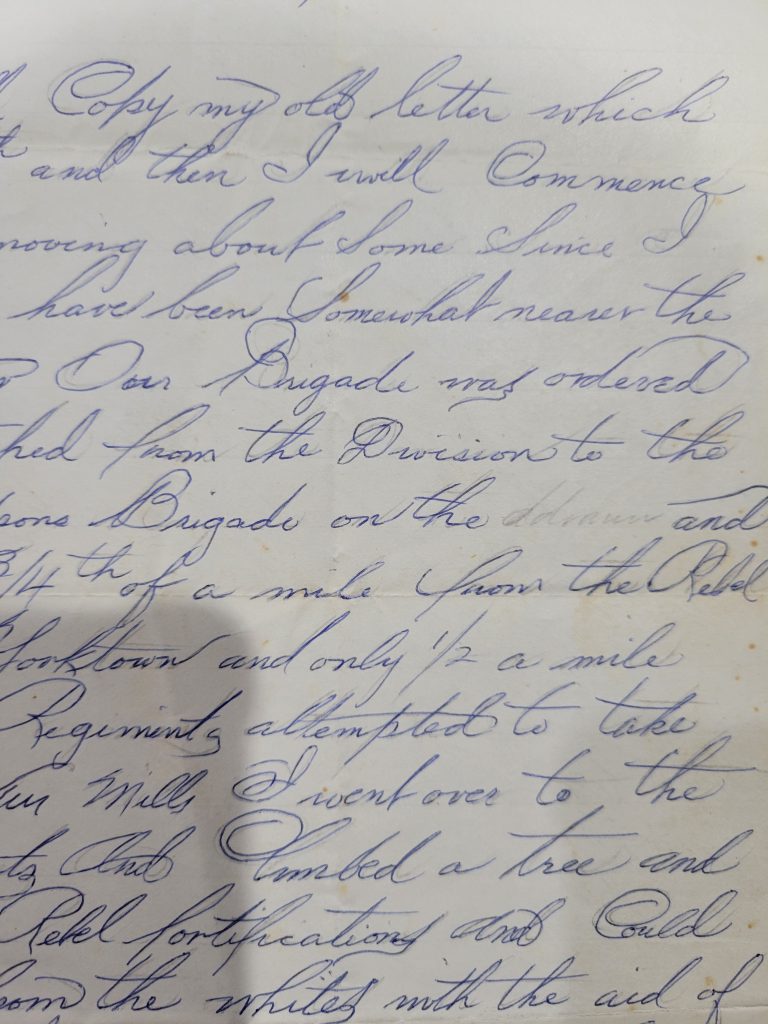
When you purchase something and it has information on who owned it, keep that info with the object. Even if you don’t think it’s relevant, keep the information. Let’s say you bought a Civil war sword from Joe Smith’s heirs. You didn’t know Joe and the fact that Joe had it doesn’t mean anything to you. Later, you decide to sell it as a simple sword because you don’t have any identification with it. You can sell it as-is with zero information, or you can include whether you obtained it from the Joe Smith collection. As it turns out, Smith was a heavy collector of all things 11th Ohio Volunteer Cavalry—now you have a clue as to where this sword may have come from. It’s not definite, but it’s a crumb of context.
Sometimes crumbs of context are all we have to go on, and often times they remain crumbs, but there are also times where that simple crumb can allow us to fully identify a photograph or object. Collectors are often connected with specific areas that they collect, so keeping this information with the object can be helpful in identification and also in provenance.
Purchase Price
This one may seem obvious, or it may not, depending on if you are insuring your collection. I will add, if you have a large collection of Civil War photographs, documents, artifacts, etc., I recommend insuring it. However, even if you are not currently insuring your collection (you should) the purchase price information may come in handy.
If you do decide to insure it, that will help determine the value, along with an appraisal. And having that information will help you (and especially loved ones) should the time come that that particular item needs to be resold. You will know what you have invested in it, and what you may be able to get for it. This can also help assess value when you may be doing a trade with another collector.
Your purchase prices can also come in handy should you ever decide to donate your collection or an item from your collection to a museum or other non-profit organization. The current value of the item can be used as a tax write-off.
Listing Information
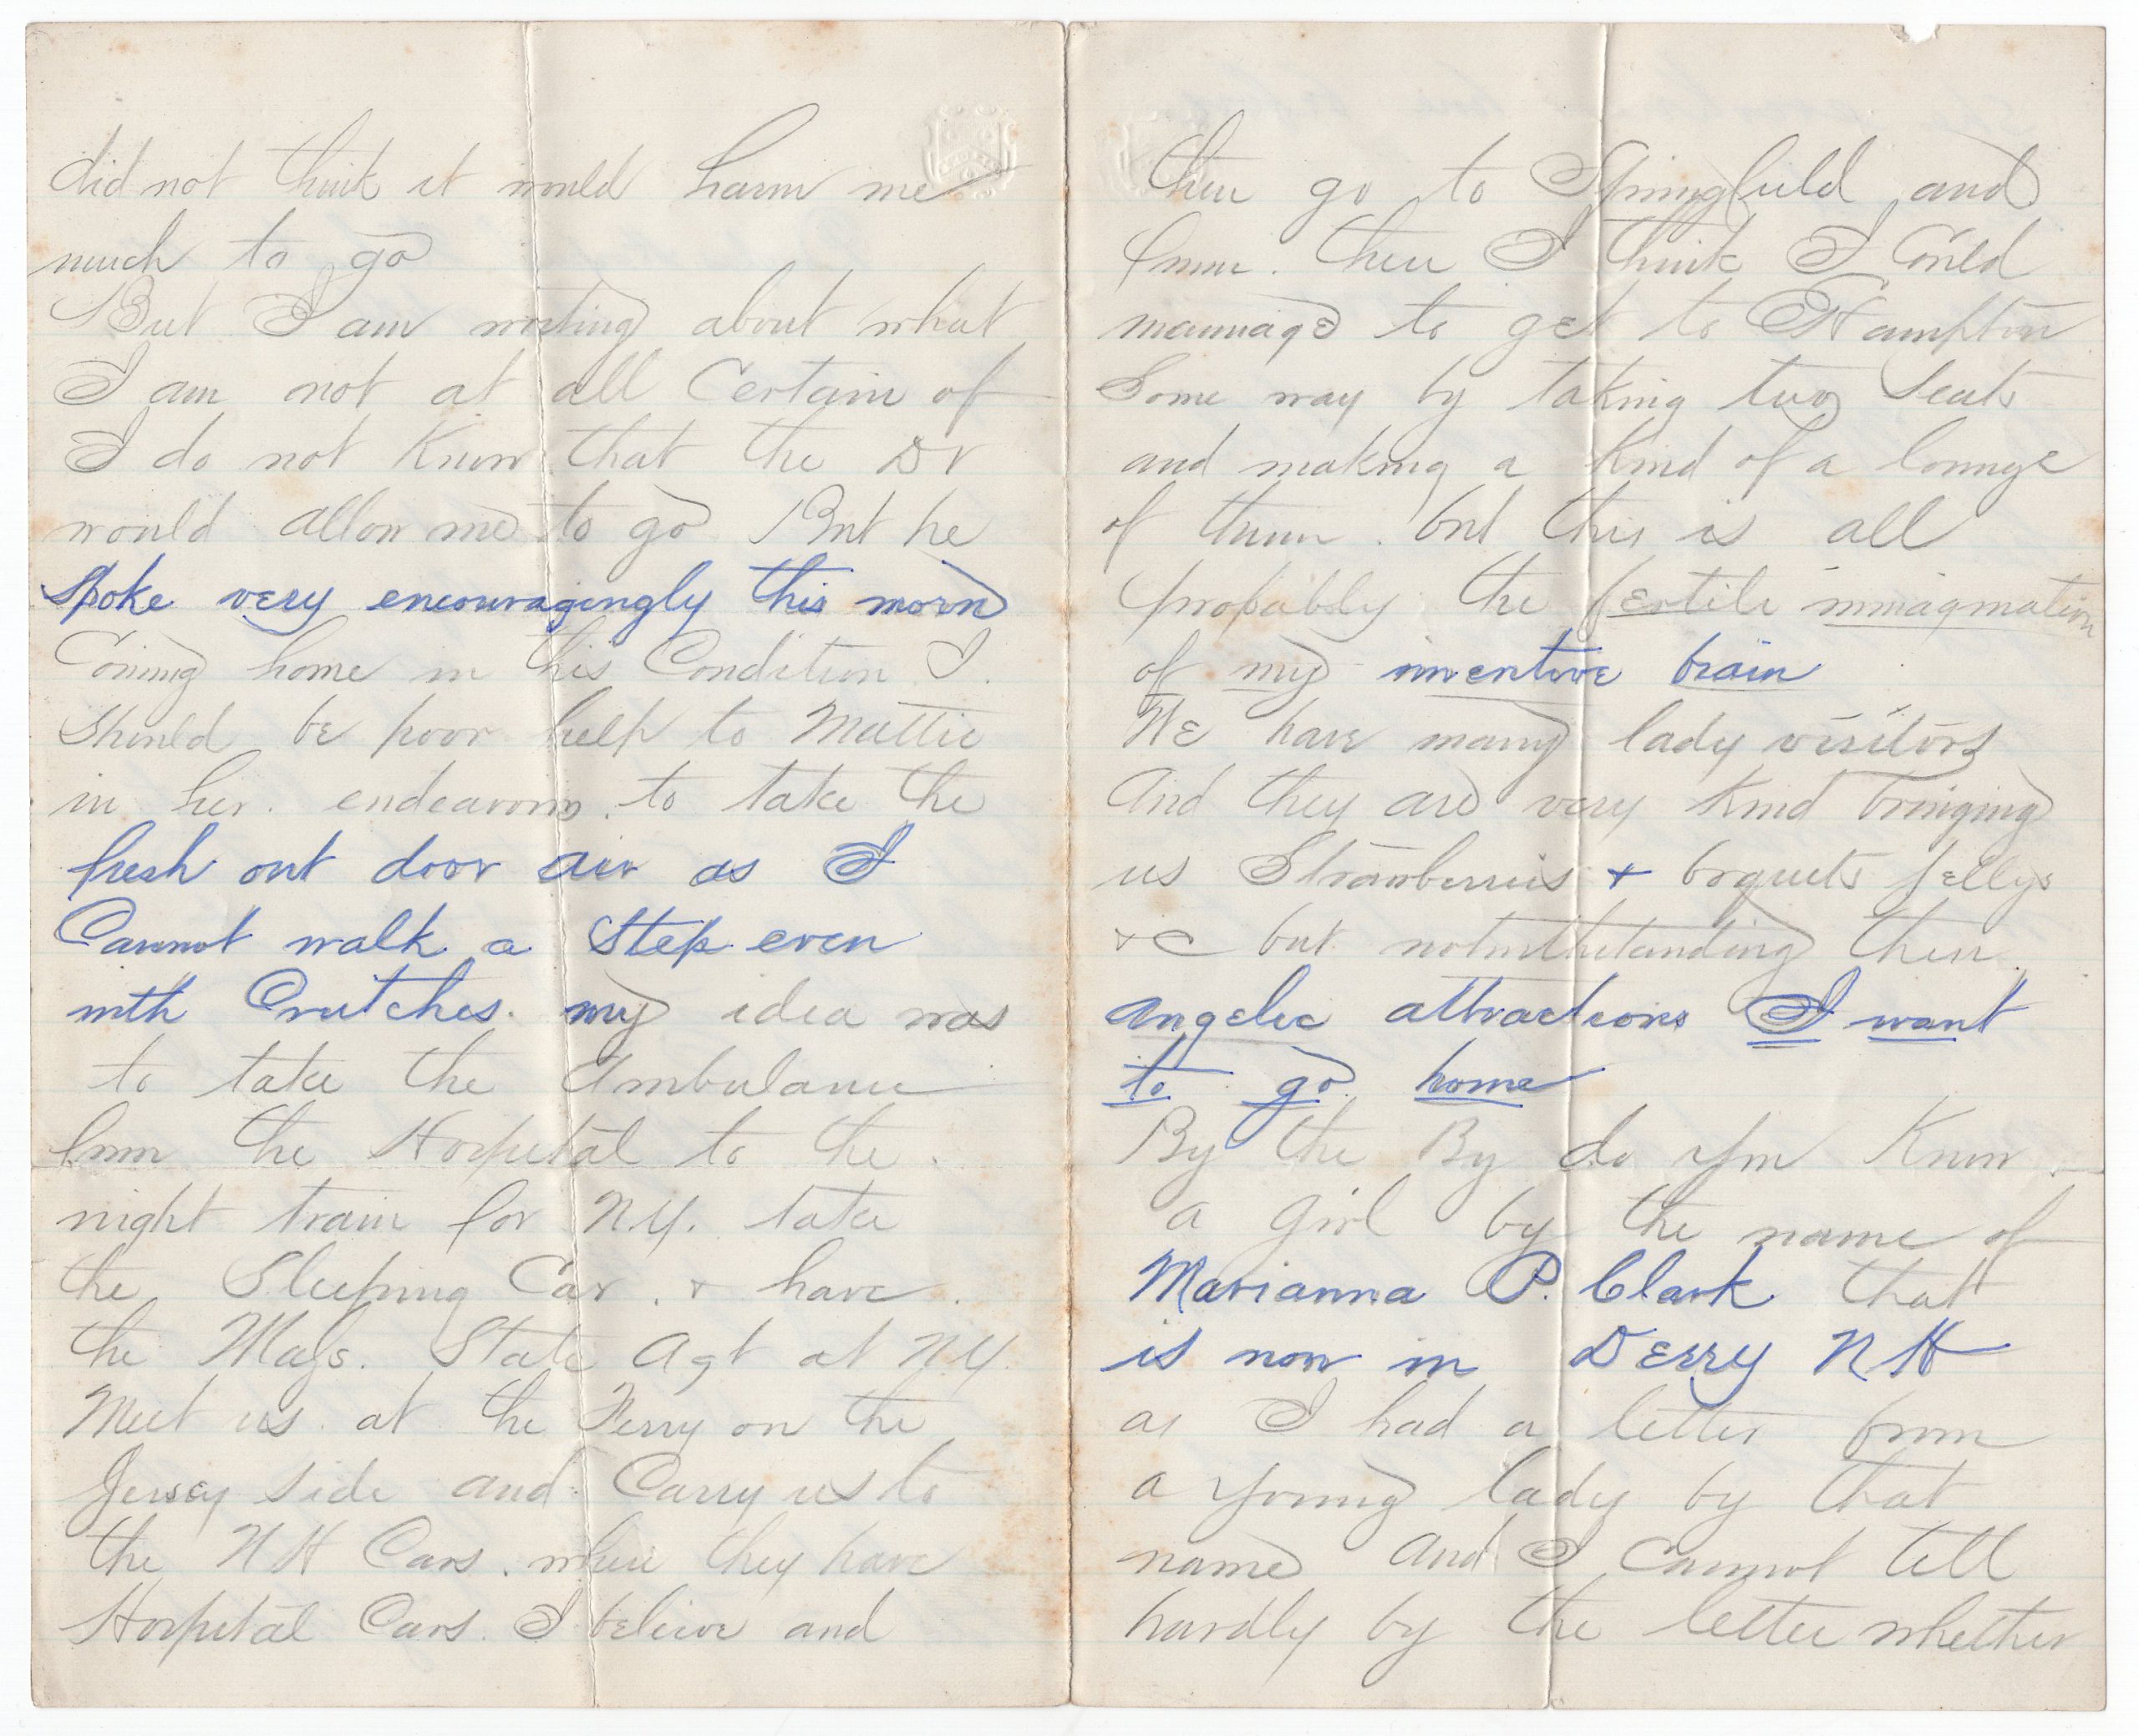
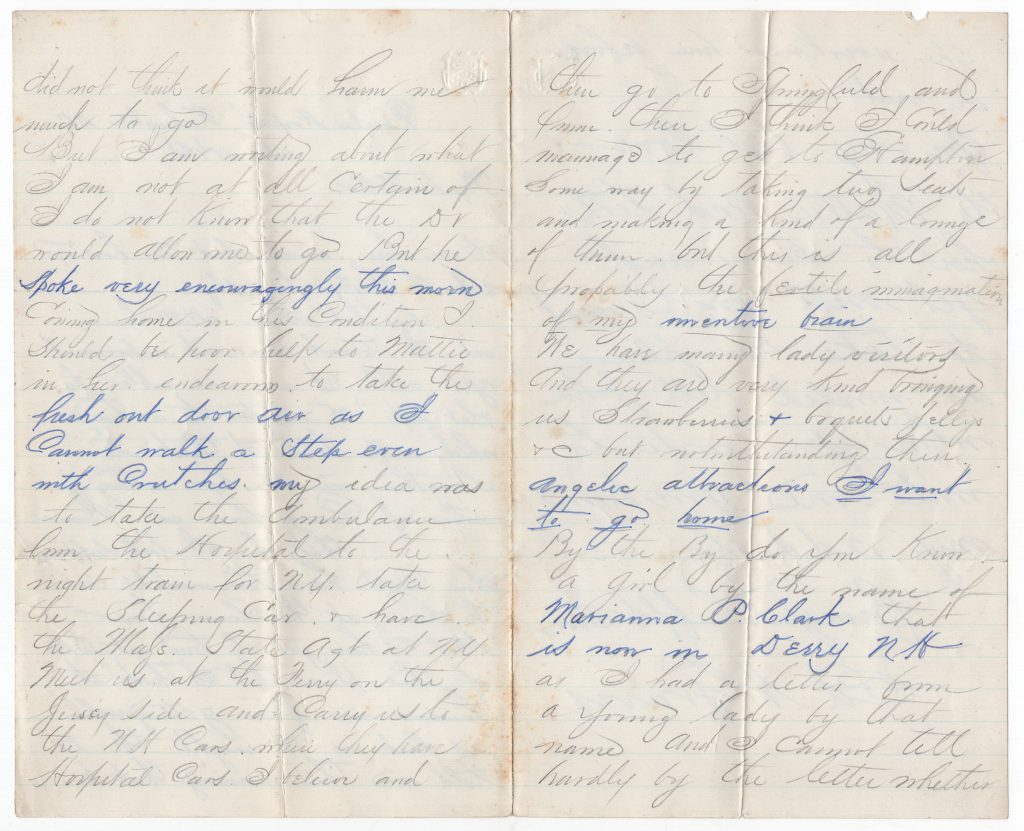
This one is important if the listing has some good information in it. We’ve all seen listings that basically just say, “Old tintype. Unknown person. Military.” And that’s about it. Those types of listings are not what I’m talking about here. I’m talking about the ones that have some meat in them that may add to a story further down the road or may help you with additional research.
For example, I recently purchased an 1870s dance card for a dance that was held in a building owned by someone I have heavily researched. On the surface, the dance card speaks for itself. But what was interesting was that the seller had it listed under the wrong state. She found the dance card inside a wall of a home she was remodeling and assumed it must have come from nearby, so she listed it as such. What I am still wondering is how in the world this dance card ended up inside a wall in a neighboring state. But since I have that information, I know which town that dance card ended up in and I could try to match up that info to see if there are residents who lived in the town where the dance was held and moved to that neighboring state. It’s certainly a research project, but it might allow me to identify who actually owned the card. If I had not kept any of that information, I would have lost that part of the object’s history and story. And as I mentioned last week, an object’s story is what gives it its context.
Another example is that I have many signed copies of a single book, but some of them were owned by historical figures. Since the signatures are simply the author’s name, if I lost the listing information, I would not know that that particular copy was owned by a U.S. Senator or other figure. That information can also play into the value, so it’s extremely important to keep it with the item.
What Information Have You Kept?
These are just some examples of what to keep and why when purchasing items for your collection. Have you kept any of this information? Next week we’ll dive into how to keep your information so that this does not create something tedious to navigate or difficult to keep up with.