2 Methods for Digitizing Glass Negatives

Two Methods for Digitizing Glass Negatives

Digitizing glass negatives is a fairly simple process, and I will offer two methods you may find useful in this post. Last week, I talked about how to store glass negatives and gave some suggestions as to where to find the proper archival boxes specifically made for that. Once you’ve got the right storage materials, you can sit down and start digitizing. It is always important to have proper storage first so that artifacts are safe as soon as possible. Digitizing can be a project depending on how many glass negatives you have, and you may need to spread out the process over a few days.

First Method: Scanning

If you have a home scanner with a “transparency” setting, you may have very good luck scanning your negatives. If your scanner does not have a “transparency” setting, you may be able to scan some negatives, but if they are dark, they scans will likely not pick up the image very well.

To scan a glass negative, put on latex or nitrile gloves, and make sure the glass bed of the scanner is free of any dust or lint. Then make sure that the negative itself is free of dust and hair—you can use a blower to do that without harming the emulsion. Be VERY careful when brushing off debris on the emulsion side. The emulsion can rub off, which is why it is best not to brush that side. An archival dust blower is perfect for getting dust off without ever touching the glass and can be used on other items in your collection as well.

Once the scanner and glass negative are ready, place the negative emulsion side down onto the glass. Now, and important note here, is depending on your scanner’s point of focus, the image may be clearer with the emulsion side up—however, that runs the risk of creating distortion “rings” in the scan. You may need to try a negative both ways to see which turns out the best with your scanner.

Once the negative is on the glass, gently close the lid and take a look at your scanner settings. It is best to scan images at 600 dpi, although if you want to scan them higher, you certainly can. The best file format to save in is a TIF so that as much detail as possible is saved. This creates a much larger file size, but it also provides the richest data file. A JPG or PNG will compress the image, making a smaller file size, but also saving less information.

Second Method: Photographing with a Lightbox

This method is somewhat “old-fashioned”, but it will work well for glass negatives—especially if your scanner does not have a “transparency” option for scanning darker negatives.

Here you can see a glass negative sitting on the right kind of lightbox. This one courtesy of the now extinct photo lab I used to work for...
Here you can see a glass negative sitting on the right kind of lightbox. This one courtesy of the now extinct photo lab I used to work for…
Here is that same glass negative on one of the modern LED light tablets. Notice the black dots all over on the screen. As you can see, these cheaper alternatives are NOT usable for photographing glass negatives!

The first steps are the same as with the scanner—make sure your lightbox and negative are free from dirt and debris, and make sure you are wearing latex or nitrile gloves. Then place the negative on the lightbox and photograph it. One important note here is to be careful of the lightbox you are using. I used a large lightbox that I saved from the old photo lab I worked at that shut down almost 20 years ago. It still works like a champ! But there are new LED ones available online that when they light up, actually create a dot matrix pattern. You do not want one of those LED ones because the black dots will show up in your photograph of the negative.

In this example I used both my cell phone and a Canon EOS Rebel camera to photograph the negative. The cell phone picture came out rather well, although it is in the JPG format. The camera also did very well, but it takes some practice to make sure that you photograph the image squarely from the top looking directly down so that you don’t end up with a slightly distorted picture.

Processing Your Picture

Once you've scanned or photographed your negative, you will end up with a negative image similar to this. It will need to be processed in a photo editing program so that you can see the image properly.
Once you’ve scanned or photographed your negative, you will end up with a negative image similar to this. It will need to be processed in a photo editing program so that you can see the image properly. This particular image was taken with my cell phone while the negative was sitting on the lightbox.

Once you have your digital file of the glass negative—whether from scanning or photographing—you’ll need to process it in some kind of photo software. You can use Adobe Photoshop, or any other myriad of photo editing programs to do the basics of what we need to do here. I use Affinity Photo for these types of edits.

Open the file in your photo editing program of choice, and then add a layer, and select “Invert.” This will invert black into white and white into black so that you have a positive image, rather than a negative. Once you do this, you will likely need to edit some of the black and white levels. This can be done by adding another adjustment layer and selecting “levels.” By adjusting the black and white levels on the histogram that pops up, you will be able to create a more natural looking image with proper color balance.

An important note here is that some images will be naturally dark and naturally light. Just like back in the “old days” when we’d take pictures with a roll of film, sometimes they were over or under exposed. In that case, there is only so much editing you can do with a photo program to get the best image.

Here is the finished processed image. This is the processed version of the cell phone picture taken above. More work could be done on adjusting the white balance and so on, but this gives you a good idea of how the process looks from beginning to end.

Once you have a finished image you are happy with, you can save it as a new file as a TIF or a JPG—whichever you prefer for your use. I always keep an edited TIF on hand and use a JPG for posting online or sharing via email since the file size is so much smaller.

I hope that this brief walkthrough helps give you some pointers on digitizing your glass negatives!

How to Handle and Store Glass Plate Negatives

In this blog and the next entry, I’ll be going over how to handle, clean, store and digitize your glass plate negatives. Properly caring for these negatives is important to ensure that they continue to survive for decades (and centuries) to come, and so that the image emulsion is not inadvertently damaged by improper storage and handling. Please also consider cataloging your negatives as you go through this process. A related blog entry on cataloging can be found here.

If you’re starting an extensive archive of 19th century archives that includes photographic material, you will likely eventually run into glass plate negatives. These are different from tintypes, ambrotypes and daguerreotypes. There are two types of glass negatives: wet collodion (used between 1855 and late 1880s) and gelatin dry (used from the late 1880s to the early 1920s). The main difference between the two is that the wet collodion glass plates would need to be prepared by the photographer and immediately exposed and then processed by the photographer, all while remaining wet. The invention of gelatin dry plate negatives allowed the photographer to prepare the glass plates in advance before exposing them to light. By the 1880s ready-made gelatin dry plates were available for purchase to photography studios and amateur photographers alike. By the 1920s these plates were being replaced by dry gelatin paper negatives and flexible celluloid film rolls.

How NOT to Store Glass Plate Negatives

Glass plate negative
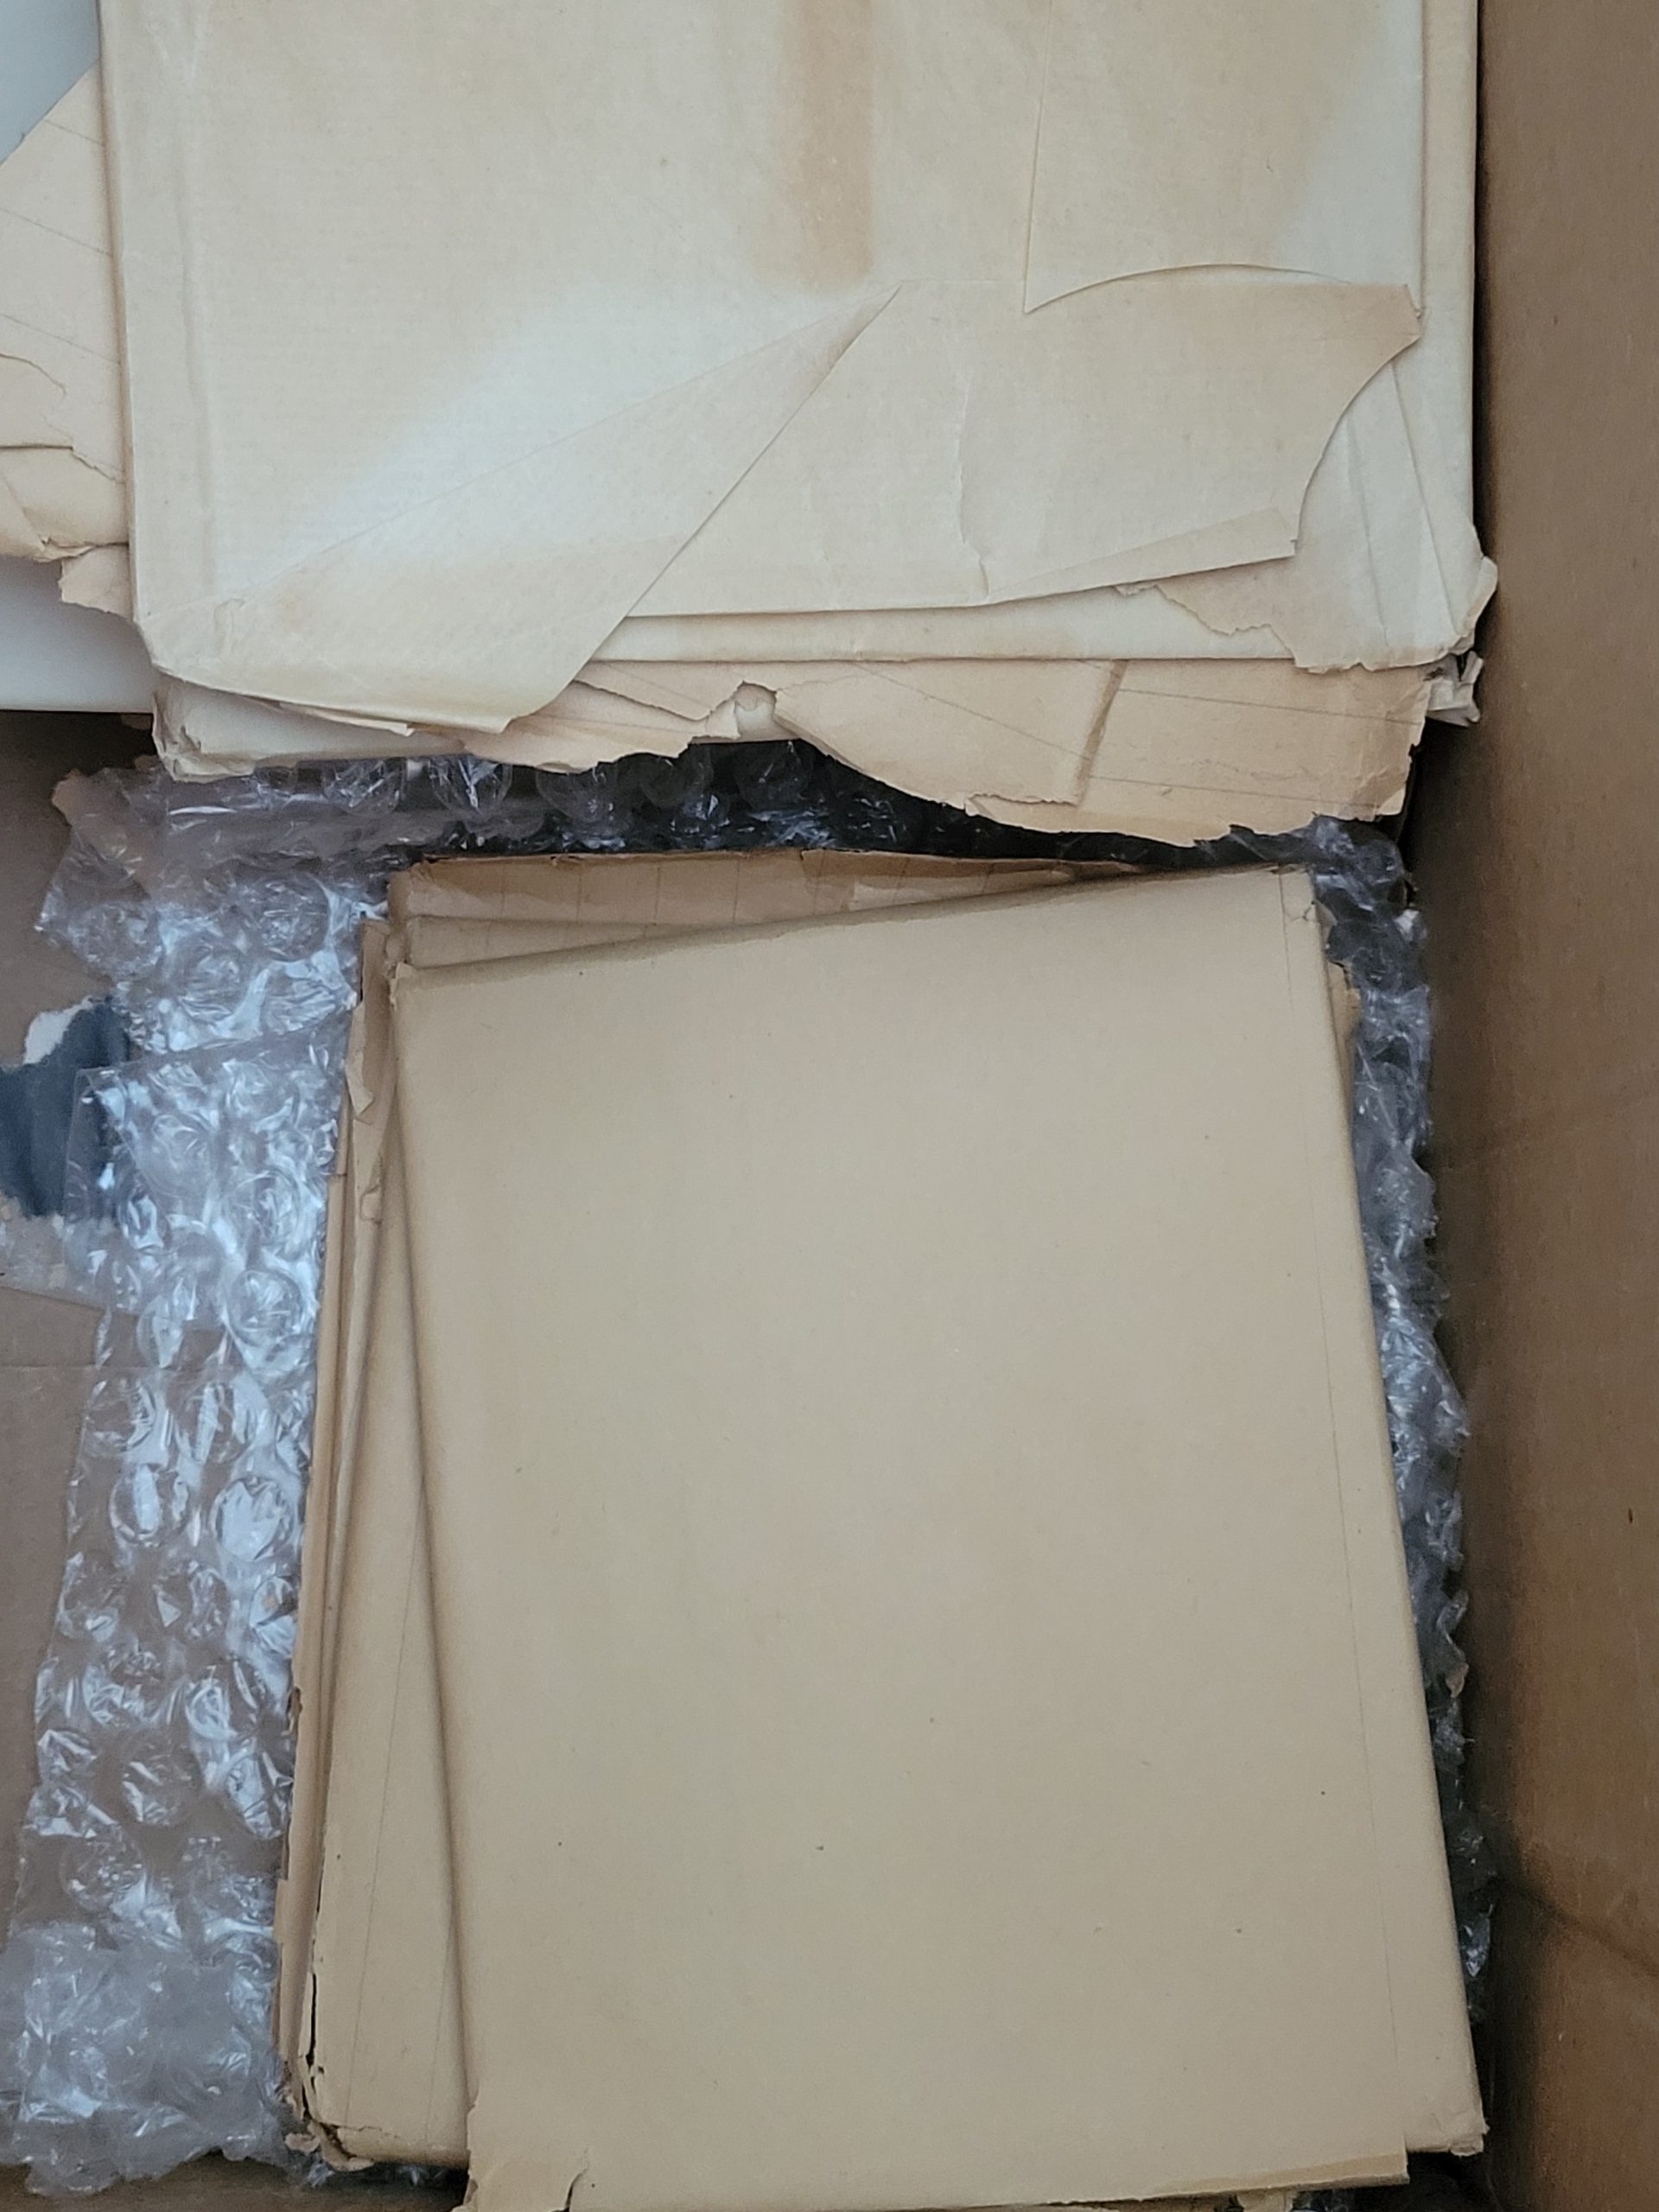
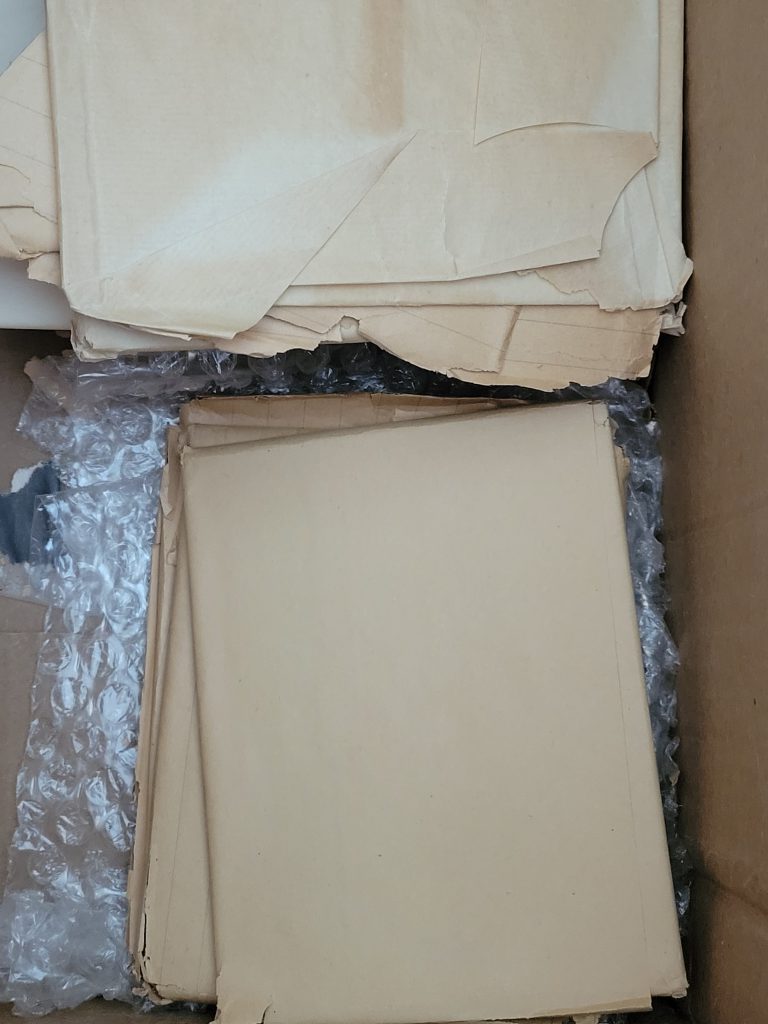
Here is an example of how not to store glass negatives. Although, it is fantastic that they were at least wrapped, as it could have been much worse. Finding glass plate negatives in this state is not unusual, as this is how families kept them and over time they have just stayed this way.

In all honesty, coming across a batch of glass negatives in this situation is not the worst-case scenario. They are at least wrapped and somewhat protected from the environment and each other, which far beats them just scattered loose in a box without any protection. Still, this is not ideal.

How to Store Glass Plate Negatives Instead

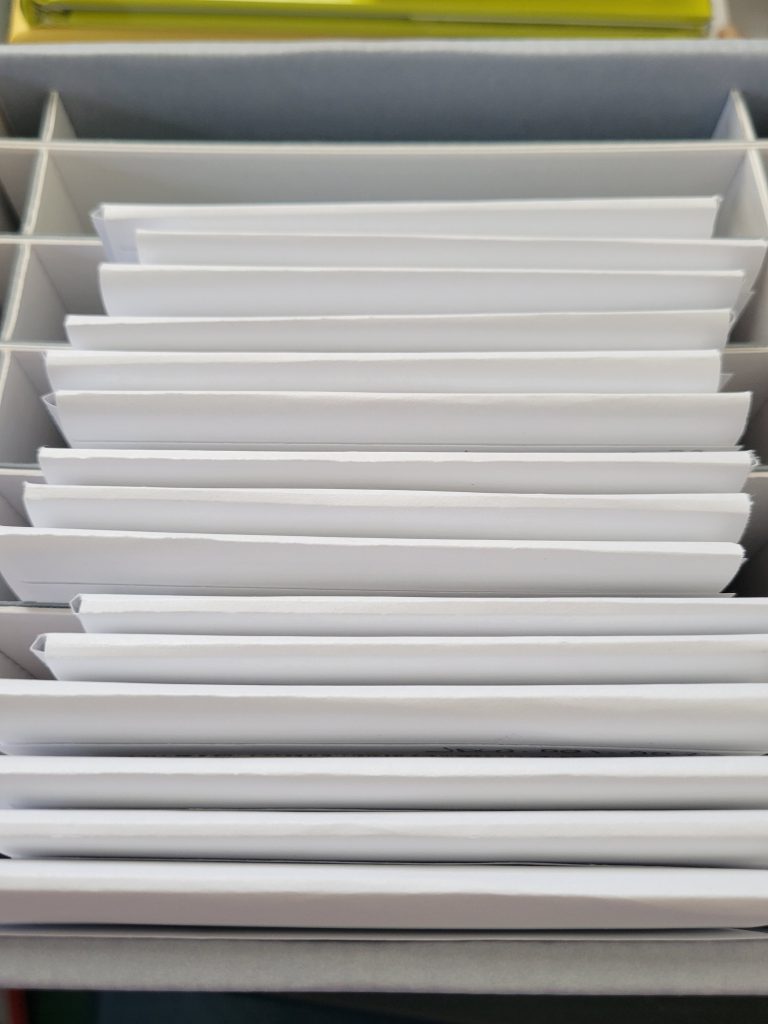
This is an example of glass negatives in protective archival sleeves stored in an archival box designed to house glass plate negatives. These boxes come in all sizes to house different sized glass plate negatives.

Here you can see some glass negatives in protective sleeves inside an archival box specifically made to house them. These dividers accommodate 3-4 plates (depending on thickness) in each pocket. Now, special note here: I have these plates sitting vertically in this picture. This is because I am in the process of digitizing them and it allows me easier access to remove each plate. For proper long-term storage, these plates would be turned onto their long edge so that they would fit snugly between the dividers of the box.

There are a few archival businesses who sell specially made glass plate negative boxes and dividers. The one seen in the photographs here is from Talas and can be purchased here. You will need both the box and the folding protective sleeves.

Important things to Consider

  • You will want to wear gloves when handling these negatives. You don’t want to run the risk of getting fingerprints on them or scratching the emulsion. However, cotton gloves can snag on the emulsion (especially if it is already flaking) and they also can make your grip slippery, and dropping a glass plate negative would be very BAD. Instead of cotton gloves, use latex or nitrile gloves that have a more rubbery texture.
  • The emulsion side of the negative is EXTREMELY fragile. It can scratch off, be washed off, and even just flake off over time. Be extremely careful when handling and do not handle the negative where that can be damaged. Grip it from opposite edges, like you’d hold a CD, do not place your fingers on the emulsion.
  • Your negative may discolor over time. This is natural and due to the chemicals involved. Wet collodion plate negatives tend to turn brown or have a sepia tone due to the varnish that was applied to them. Gelatin dry plate negatives were sometimes varnished and can have a purplish tone but usually have a grey or black image tone.

Cleaning Your Glass Plate Negative

Ideally, this is something that should be done by a professional, but I know there are some antiques dealers and collectors (I’m not pointing fingers…) who can be a little brazen with their attempts to “spruce up” their collectibles, and I’d rather provide solid information for those who are going to forge ahead anyway, instead of not including it.

This is important and also very risky, as you do not want to damage the negative in the process. Do not attempt to clean the emulsion side with any liquids, chemicals or solvents.

The West Virginia University Library outlines a good step-by-step process to clean the glass side (non-emulsion) side of a glass plate negative using ONLY distilled water. If you choose to do this, please follow their steps closely and carefully in order to avoid any unintentional damage.

As opposed to doing this yourself, you may find that your local museum or university archive may be able to help you—or may even help clean them for you. In the next post I’ll go over how to digitize your glass plate negatives and that is also something that your local museum or archive may also be able to assist with.

The most important thing to remember is to not do anything that is irreversible—in other words, don’t wash off the emulsion! And always remember to ask questions if you are unsure of what to do. There are resources available online and also locally at museums and archives who can help you.

JOIN THE RESEARCH ARSENAL COMMUNITY TODAY.