How to Scan Your Collection

How to Scan Your Collection

This is only a basic guide on how to scan your collection. For this purpose, I’m focusing on documents and photographs. Things like maps, glass negatives, slides, etc. can be more complex and would far exceed the space I have here. But I wanted to create a basic guide with some pointers that might be helpful and I wanted to discuss file formats which is not something often covered in scanning guides.

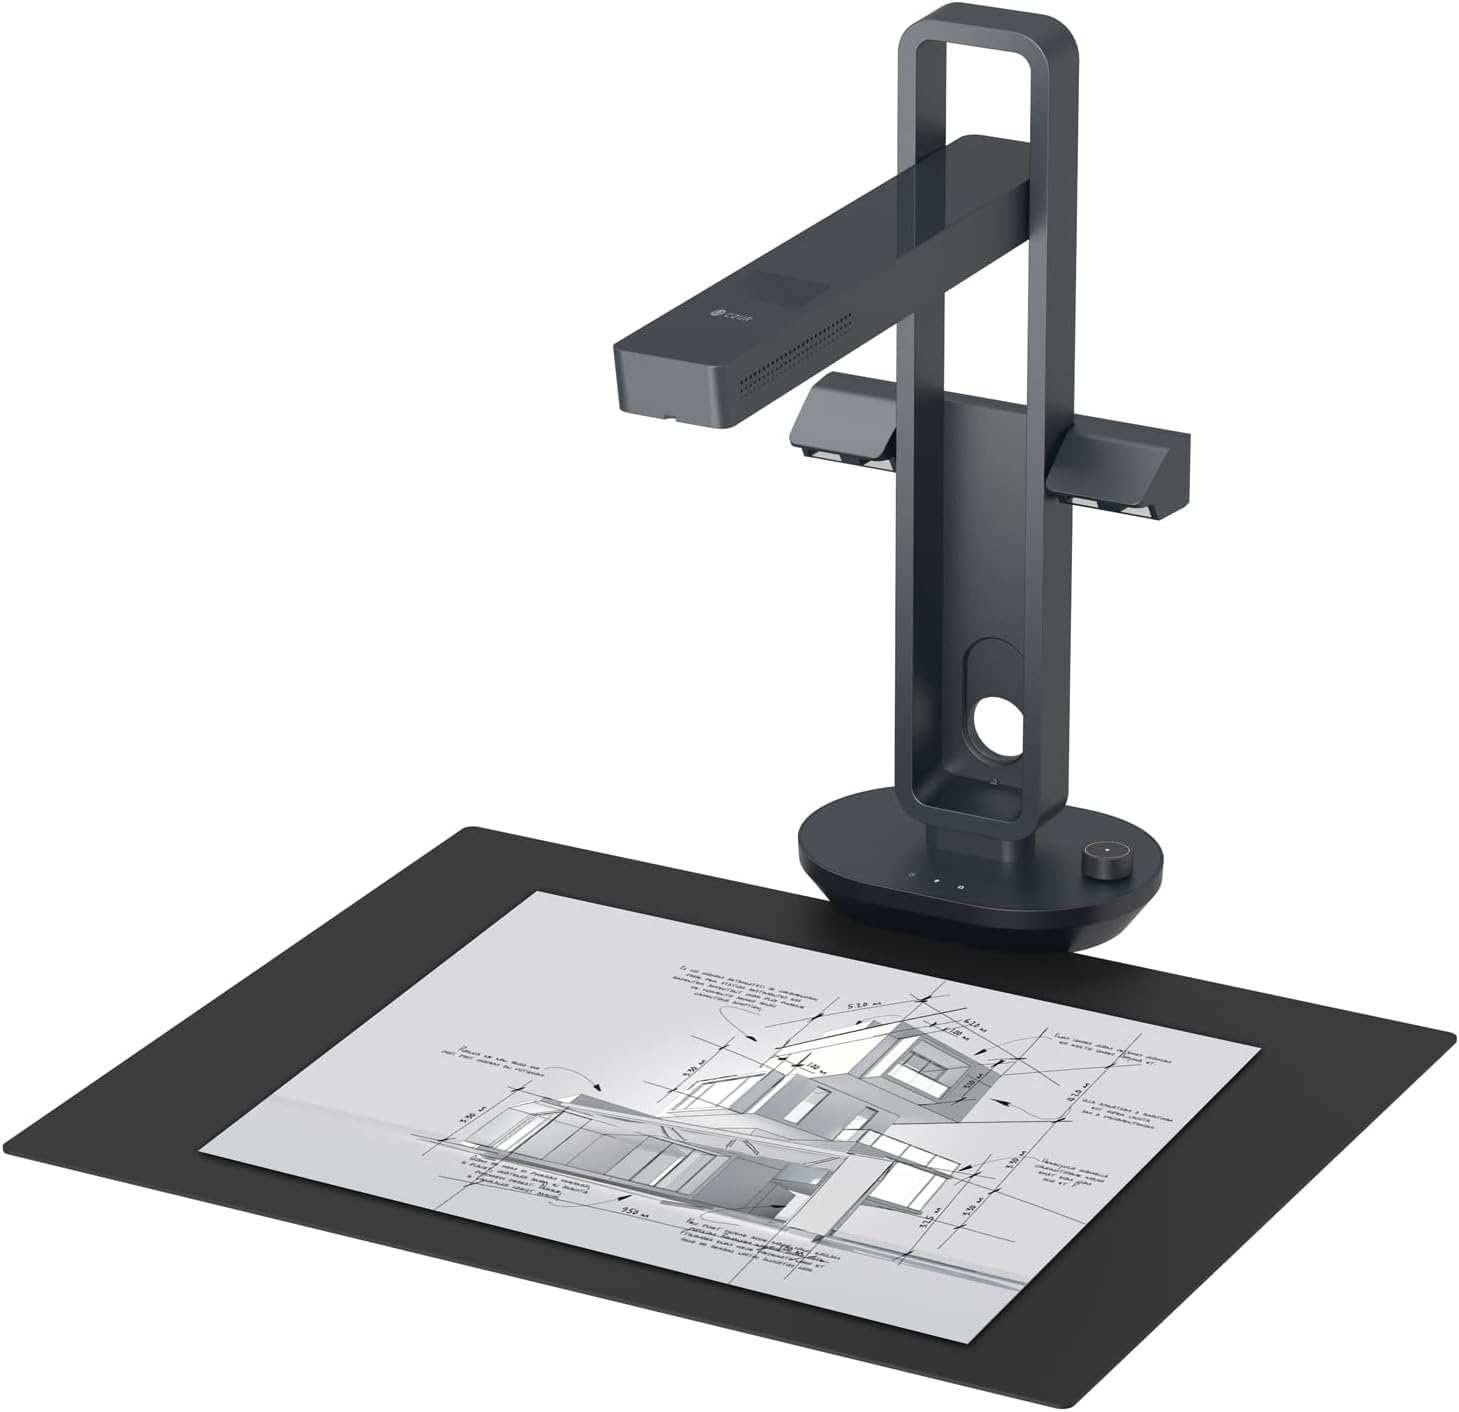
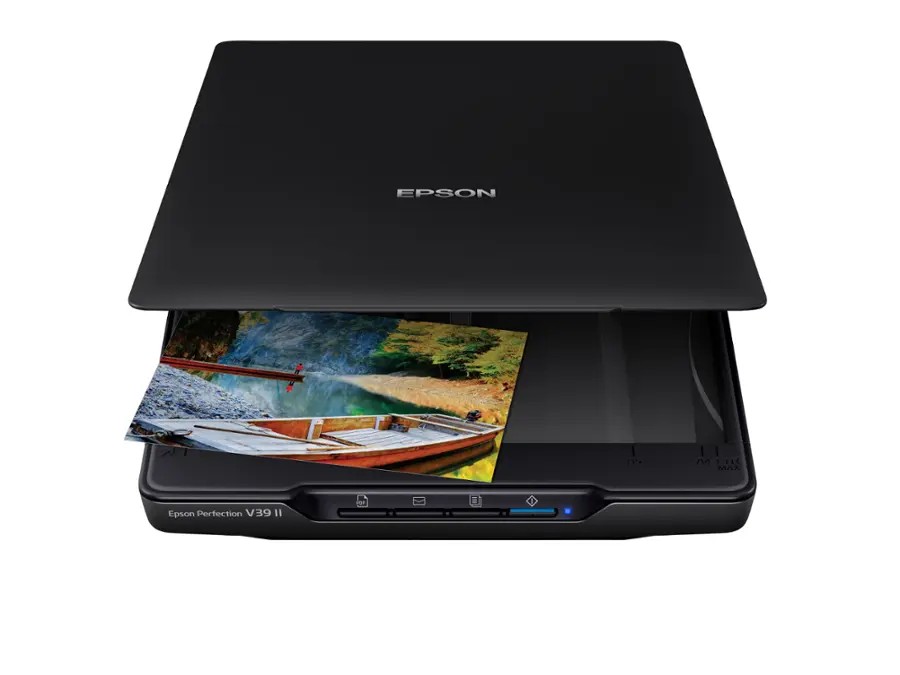
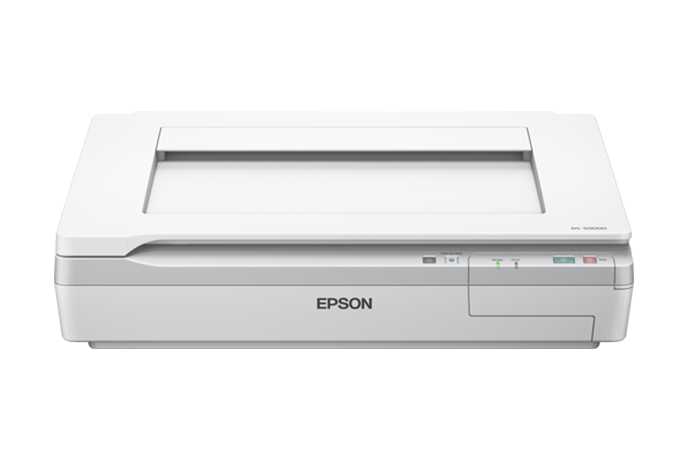
Last week I went over some different types of scanners that can be useful for scanning documents. Both flatbeds and the CZUR overhead scanner were mentioned, but today I’m focusing on using a flatbed scanner.

Scanning Procedure for Documents

No matter which brand or size of flatbed scanner you are using, these tips will apply. The first is to make sure you have a clean glass scanning bed. It is extremely frustrating to scan a bunch of materials and then discover that there was a dirt smudge or a stray hair on the glass that is now on all of your scans! I would recommend some type of microfiber cloth or a screen cleaning cloth used for computers or phones to wipe down the scanning bed periodically. You will especially want to do this if you are working with old paper that is crumbling or dusty because each time you place a new sheet of paper on there it will probably leave some sort of dust or residue behind.

The next step is to place your document on the flatbed, close the lid, and go into your scanning software. You’ll want to make sure that it’s set to “Document” or some equivalent of that. And then you’ll want to adjust your resolution and file types. For documents, I recommend scanning at 300 dpi. You are welcome to scan at a higher resolution, but I would not scan at any less than 300 dpi. For file types, I recommend TIF files as they are uncompressed, but with document scans you may determine that you do not need such large files and go with JPGs. Still, with the low cost of purchasing external hard drives and cloud backups these days, I would recommend going with a TIF format just to maximize the quality of data you are getting in those scans.

Both of my Epson scanners have an “Auto” or “Manual” scan mode and I keep mine set on “Manual.” I’ll click “Preview” and that will make it scan the entire surface of the glass. Once I have that preview image, I’ll draw a box around what I specifically want to scan and then click scan. The “Auto” setting means you can just click scan and it will auto-detect the edges of the paper and crop your scan accordingly. However, I’ve found that lots of times it has trouble determining the edges of the paper, especially if it is very white (blends in with the cover background) or if it is torn. In order to avoid rescanning overly cropped images, I just prefer to manually set those boundaries myself.

Here you can see the file name format used by the Research Arsenal and how multiple scans of the same document are given parenthetical numbers.

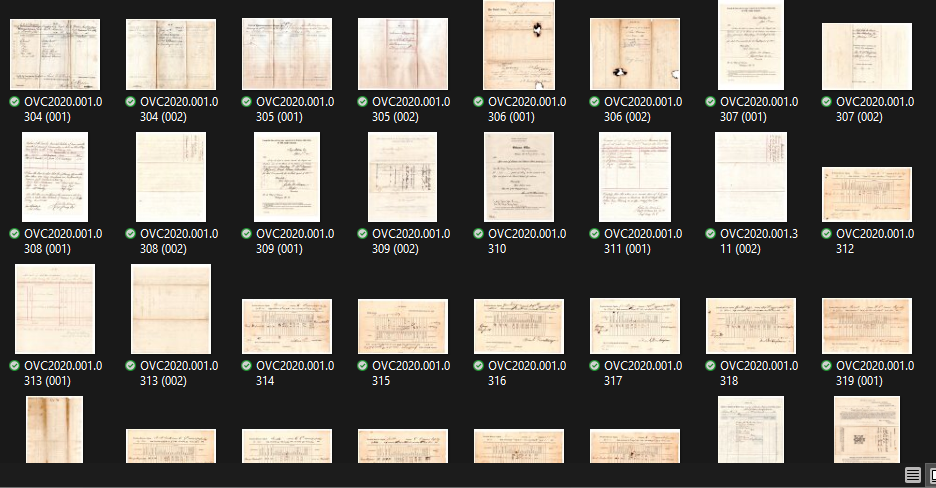
Once the image is scanned in the folder of your choice, you will need to give it some sort of file name. This is where I will chime in again about the importance and convenience of using catalog numbers. You can name your files with those and if you have more than one scan per file number it simply becomes 001, 002, etc. So, it would look something like OVC2020.001.003 (001) followed by OVC2020.001.003 (002), and so on. This way they are all kept together and in your collection software or Excel sheet you have the description of the item connected to that catalog number.

Scanning Procedure for Photographs

To scan photographs, you would follow the same process as above, except with regards to resolution. For images, I would recommend that you scan them at 600 dpi at a minimum. Some scanners will go all the way up to 4800 dpi and other insanely high numbers, but it is not necessary to scan prints at that resolution. I have scanned many at 1200 dpi because I wanted to make sure I got the most information possible out of the scan, but when you’re working with prints, eventually you get to the point where you’re squeezing blood from a turnip. A print only has so much information on it, and once you’ve crossed into 1200 dpi or higher, you have reached into territory where there is just not any more information to be gleaned from it in a scan.

Like the documents, I highly recommend saving images as TIF files. You are far more likely to want to zoom in on an image than a typed letter and saving the file as a TIF gives you greater ability to do so. There is no point in scanning an image at 1200 dpi for high resolution and then compressing it by saving it as a JPG.

TIF Vs. JPG

In case anyone is wondering why I am harping on file formats, this why. Whenever you save in one of these formats, your file is compressed. Meaning it’s squeezed into this type of file format. JPG uses a “lossy” compression meaning that it essentially deletes bits of the data you just created in your scan in order to save it in a smaller file size. A TIF on the other hand, does NOT use “lossy compression” which results in a larger file size, but all of your information remains intact.

A JPG can be handy if you’re uploading these to the web or emailing them or posting them on Facebook. But you can always work down in file size from something larger, you can’t work your way back up from something small. For this reason, I recommend saving all your scans as TIF files and then simply making a copy of the file as a JPG if you’d like to upload it online or email it to someone. That way you still retain a high-quality version of it.

I use CatalogIt for my collection of archival materials and I make a JPG copy of my scans and upload the JPG copy to their database so that it does not take up as much room since storage is a factor with their software. I keep the larger TIF files on my computer and back up separately to the cloud.

I hope this is a handy reference and helps answer some questions about resolutions and file types when scanning documents and photographs. Have more questions about any of this? Let us know on Facebook!

The Scanners to Digitize Your Collection

The Scanners to Digitize Your Collection

Last week we discussed in some basic detail the advantages of having a digitized copy of your collection available. This week, I want to tackle the first basic step in digitizing your collection—the scanners to digitize your collection. Each one of these sub-headings could be an entire post in itself, but I wanted to give you some basic information to get started if this is not something you have done before and you need to purchase equipment. I was going to go right into how to scan things, but I figured I’d better back up and start with having the best tools in place first.

In order to digitize your collection you will need a scanner, and a flatbed scanner would likely be your best option. You will get the best scans possible from a flatbed scanner as opposed to overhead scanners (but they are extremely useful as I’ll point out later on), and document feeders. I include document feeders on here because there are oversized scanners that use a document feeder to scan large maps and other oversized documents.

Flatbed Scanner

There are lots and lots of different brands and types of flatbed scanners available for purchase. Here, I’m going to share recommendations based on scanners that I personally use. You may already have one that has these same features, in which case, that is perfectly alright. These are by no means the only scanners that can do the job, these are just ones that I am currently using.

Epson Perfection V39 II

This is one of the more affordable scanners to digitize your collection, and it is very portable too.
This Epson Perfection V39 II scanner one of the more affordable scanners to digitize your collection, and it is very portable too.

My version is the I rather than the II, but for all intents and purposes, they are the same. This scanner was a lifesaver for me as a researcher who spent several weeks on the road and needed to digitize photographs for research and eventual book publication. This little 3-pound scanner is small enough to fit into the laptop section of a standard backpack, but can scan at resolutions up to 4800 dpi. For reference, when scanning you’ll want to use a resolution of 600 dpi. Anything beyond that inflates the file size and typically does not add much to quality except in some circumstances.

This scanner runs off the USB connection to your computer, so there’s no need to find an outlet and deal with a separate power cable. This can be really handy if you’re running short on outlets at home, or you’re scanning someplace and don’t have one nearby.

The downside is that you are limited to 8.5” x 11” in scanning area, which is not enough if you have large letters or other documents. However, if your collection is only tintypes or other smaller media, then this little scanner that runs around $130 will do just fine.

Epson DS-50000

The Epson DS-50000 scanner is a pretty hefty scanner and much more expensive than other options. However, it is fairly quick, offers great resolution, and is a good workhorse if you have a lot of material to scan and you want it scanned in good resolution.

This scanner is most definitely not a portable scanner. It is parked in my office and has a much larger scanning surface than the Epson V39. The Epson DS-50000 can scan documents up to 11”x17” in size which is extremely handy when you are processing a lot of material that runs larger than 8.5”x11.” It can scan in resolutions up to 9600 dpi, which again, is extremely high. This scanner is a hefty 32 pounds, which means it’s not something that you want to be setting up and tearing down over and over. It will need a place to live in your office area. It also has a hefty price tag of a little over $1,800 so it is a big investment.

Overhead Scanner

In a way, the term “overhead scanner” is a bit misleading, as these scanners are actually taking photographs rather than “scanning” as a flatbed scanner does. Regardless of how it works, these scanners are a godsend if you are trying to scan a lot of material in a short amount of time. I mentioned earlier that the Epson V39 was extremely helpful for scanning images on the road, these CZUR scanners were crucial for scanning thousands of pages of documents in a very short period of time. You will not get the clarity you would with the Epson DS-50000 on the documents, but depending on your needs, that may not be necessary.

CZUR Aura Mate Pro

The CZUR brand of scanners are probably the most efficient scanners to digitize your collection on the market. They are reasonably priced, easy to use, and scan quickly--2 seconds per image! These work well for archival materials, but not for photographs.
The CZUR brand of scanners are probably the most efficient scanners to digitize your collection on the market. They are reasonably priced, easy to use, and scan quickly–2 seconds per image! These work well for archival materials, but not for photographs.

You simply set up the scanner and the associated scanning pad, hook it up to your computer and you’re ready to go. You can place a single sheet of paper on it—crooked even—and it with the click of a mouse or a press of the foot pedal, it takes a photo, and it’s done. As quickly as you can read, place the paper, click the mouse, place the paper, click the mouse, etc., it’s taking photos. It automatically straightens and crops the images to the edges of the paper, so you don’t have to take time lining them up. If you’re scanning a book, you simply lay the book down, take a picture, turn the page, take a picture, turn the page, etc. You can digitize an entire book in minutes. Now, I will also say that if you’re using this to digitize period books like diaries and such, it gets a little more complicated, but for the most part, it really is this fast. Their product spec page lists the scanning time at 2 seconds per page. It also has a feature for books to correct the curvature in the pages due to the binding so that you end up with two flat pages once it has processed them.

On my last research trip, I brought the CZUR Aura Mate Pro with me as it folds down and is a bit easier to travel with than some of their other models. This model is still available along with a number of other models made by the same company. I will mention that my scanner is bubblegum pink, and it doesn’t appear that you can still get it in that color. Sorry. 😊

This scanner is great for document material; it is not great for photographs. With documents, it has clear resolution, and easy to read, and that’s largely because documents do not have the level of detail and color depth that photographs do. If you try to scan a photograph with this scanner it’s like taking a picture of a picture, and you lose a lot of detail and color. I recommend sticking with flatbed scanners for images and using the CZUR scanner for documents. It is also very affordable at $289 with other models being more expensive.

Document Feeder Scanners

First off, I would like to just say, don’t. Just don’t. If you happen to have an all-in-one printer, scanner, copier that has a document feeder, do not run Civil War letters or other historic documents through them. Period documents are far too fragile to go through something like that. They are likely to get caught in the feeder mechanism and shredded, so it’s best not to.

That being said, there are companies who have large document feeder scanners with specialized equipment to handle fragile documents. If you have large muster rolls or other oversized documents, finding a local company with those materials may be an option. But please do your research and make sure that they can safely handle historic materials.

JOIN THE RESEARCH ARSENAL COMMUNITY TODAY.