Collection Preservation Tips From The National WWII Museum

Collection Preservation Tips from The National WWII Museum

This photograph from the National WWII Museum shows collections boxes stored on Space Saver shelving, in archival boxes, and properly tagged with archival tags. Notice the staff member is also handling the poster with gloves while is fully supported so that it doesn't bend and tear. Image source: https://www.nationalww2museum.org/war/articles/20-years-collecting-wwii-artifacts
This photograph from the National WWII Museum shows collections boxes stored on Space Saver shelving, in archival boxes, and properly tagged with archival tags. Notice the staff member is also handling the poster with gloves while is fully supported so that it doesn’t bend and tear. Image source: https://www.nationalww2museum.org/war/articles/20-years-collecting-wwii-artifacts

Although the National WWII Museum is a bit further forward in time than Civil War collectors, the concept of preserving uniforms, firearms, photographs, and paper, is much the same. Their website is a fantastic resource for the private collector, so I thought it would be helpful to distill some of their key collection preservation tips down for Civil War collectors.

The National WWII Museum champions the principle “Do No Harm”, offering clear, practical guidance to help preserve such treasures for future generations. You’ll recognize the “Do no harm” motto as something I have repeated in previous posts—do not do anything to your collection that is not reversible! Put down those ballpoint pens! (If you know, you know…)

Seven Factors That Can Affect Your Collection

Before diving into specific techniques, here are seven factors that can affect your collection that you should be aware of:

  1. Light: UV-rich sunlight and fluorescent lighting can severely damage paper, textiles, photographs, and furniture. Keep sensitive items out of direct exposure.
  2. Temperature: Extreme or fluctuating temperatures wreak havoc on materials like rubber, wood, and metal. Avoid attics, basements, and unconditioned spaces.
  3. Humidity: Too much moisture fosters mold and pests; too little causes brittleness. Aim to maintain 45–55% relative humidity in stable environments.
  4. Pests: Insects like silverfish (paper), moths (textiles), and termites (wood) can be destructive. Regular inspections are essential.
  5. Human Handling: Oils, sweat, or makeup from hands—even gentle touching—can harm surfaces. Always use cotton or nylon gloves and avoid unnecessary handling.
  6. Chemical Reactions & Pollutants: Metals and marble can corrode when exposed to indoor airborne chemicals; avoid the use of acid-emitting materials.
  7. Inherent Vice: Some materials naturally degrade due to incompatible components—such as leather glued to wood. Periodic condition checks help catch early signs.

Tailored Preservation Tips by Material

Textiles

  • Store in climate-controlled spaces, not attics or basements.
  • Keep out of bright light and UV exposure.
  • Use acid-free boxes—avoid ordinary cardboard or wooden drawers. Wood will off-gas over time and that can discolor and damage your collection.
  • Store flat when possible; pad and support folds if necessary.
  • Use acid-free tissue padding, properly padded hangers, or roll large textiles around acid-free tubes—never sealed plastic bags. If moisture is sealed inside a plastic bag with your textile, it can cause mold.
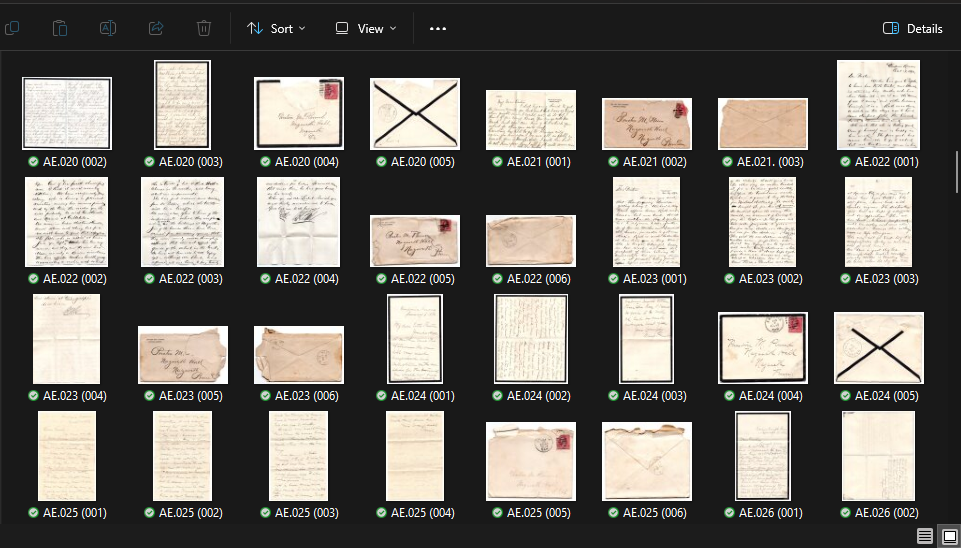
Paper

  • Maintain storage below 72°F and around 50–55% humidity. This may seem like a high level of humidity, but very dry air can be as destructive as very humid air, just for different reasons. This level of humidity will keep the paper from becoming brittle and crumbling.
  • Keep flat, avoid folds, and use acid-free folders/boxes/sleeves.
  • Frame with archival-quality, acid-free materials and UV protective glass.
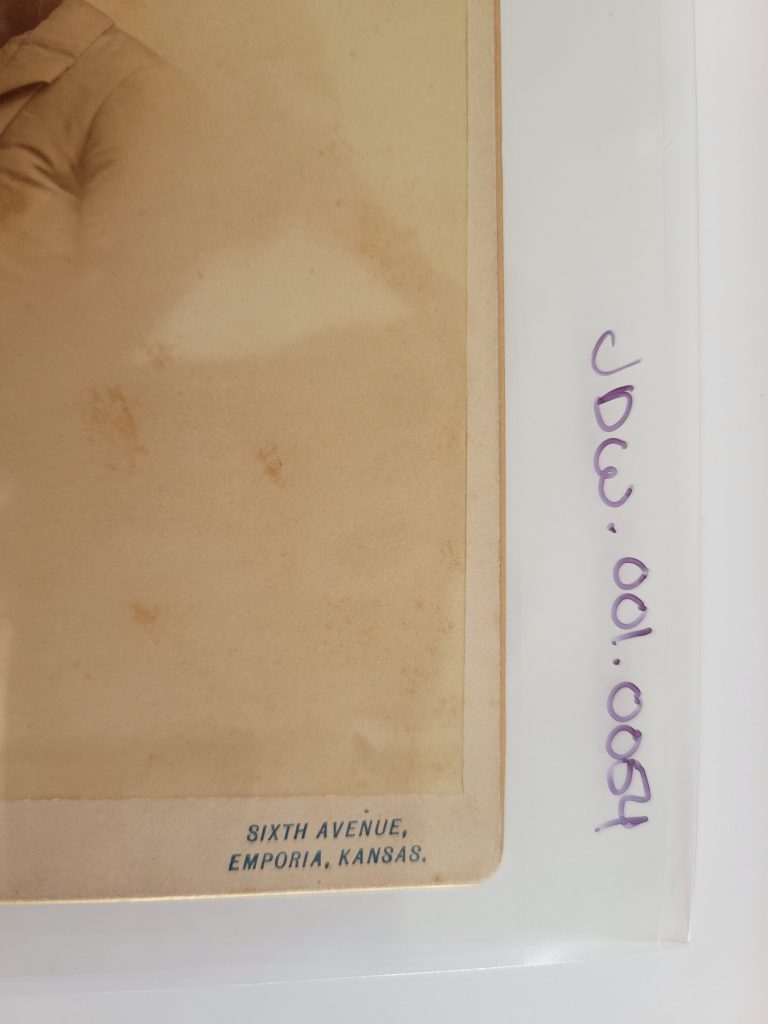
Photographs

  • Store in a cool, dry place, use acid-free or inert framing materials.
  • Handle by the edges, ideally with gloves—avoid touching surfaces.
  • No tape, markers, paper clips, or sticky notes; use pencil on copies or backs.
  • Avoid self-adhesive photo albums at all costs. I know those were very popular in the 1980s and 1990s, but they are bad news for the longevity of your collection! Opt for acid-free sleeves or place them with archival photo corners in archival photo albums.
  • Be sure to rotate any original images when displayed, or better yet, consider displaying copies, leaving originals safely stored.

Metal Artifacts

  • Most metals (except gold) are prone to corrosion—store in dry, conditioned spaces.
  • Don’t polish or clean without professional consultation. Cleaning and polishing old metal ruins the aged patina on the item, which can also be an issue when determining authenticity of a piece.
  • Always wear gloves when handling. Oil from your fingers will damage the original polish on a sword or other fine steel.
  • Light oil (e.g., 3-in-One) or wax (e.g., paste wax) may help preserve steel or iron—but consult a specialist for weapons.

Leather

  • Store in moderate humidity and temperature, away from direct light.
  • If dirty, gently clean with damp cotton cloths. Please avoid saddle soap or conditioners as they can discolor and damage historic leather.
  • Never apply petroleum products; they can cause irreversible damage.
  • Use acid-free stuffing to maintain form—support shoes, boots, cases thoughtfully. If you have an old saddle, for example, make sure that it is fully supported on a saddle stand. If it’s sitting on a shelf, that puts the weight on parts of the saddle that are not designed to carry it, causing damage. That can also cause excessive strain on stirrups and other components. The dryer and more brittle the leather, the more of a concern this is as leather tends to stiffen over time.
  • Suede and kid leather are different, and should be treated by a specialist.

Wood

  • Wood objects are fairly stable if kept in consistent, moderate environments.
  • Avoid direct sunlight, over-cleaning, or using linseed/oil-based products.
  • Wax like SC Johnson Paste Wax may offer a protective layer; oil sparingly, especially around handles or grips.
  • When oiling your firearms, make sure not to get that oil onto the grips or stocks.

Expert Resources & Support

If you require a professional opinion, or are just looking for more information, these are some great resources:

  • American Institute for Conservation — to find recognized conservators.
  • Library of Congress — guidance on paper and photo care.
  • Northeast Document Conservation Center — specializes in paper/photo conservation.

To purchase archival materials like acid-free boxes or folders, recommended vendors include Gaylord, Archival Methods, University Products, and Talas.

Why Digitize Your Collection

One of the things I’ve written about in previous posts is the importance of digitizing your collection. Whether it’s a photograph collection, or document collection, it’s important to have a digital version of it. Here I’m going to outline why digitization is important and in future posts we’ll go over how to do that and what to do with that digital collection once you have it.

Why Digitize Your Collection

Why digitize your collection? Here's one answer: all of your important documents scanned and cataloged so that any of them can be brought up with just a few clicks.
Why digitize your collection? Here’s one answer: all of your important documents scanned and cataloged so that any of them can be brought up with just a few clicks.

This is probably the biggest question and the most important one to answer first. One of the biggest reasons to digitize your collection is to have a digital record of it, which is useful in a variety of ways: Keeping track of what you own (catalog), insurance purposes, easy reference (where is that tintype again?), research (how nice is it to zoom in on photos?), and preservation. I am harping on this topic because I have run across too many collections and even personal family photos that have never been digitized, and this day and age, it is important to do that.

Keeping Track of What you Own

CatalogIt mobile and web view
CatalogIt offers both a fully functional web-based and mobile-based app, meaning you can view and edit your collection information from anywhere.

This is a big reason for the collectors out there. How many of you have wandered through a show and saw a photo and wondered if you already had that one, already had one from that regiment, or thought maybe you recognized the individual, but couldn’t identify them? How nice would it be to have that information with you at all times! This is entirely doable with the catalog software currently available for museums and collectors.

I’ve recommended CatalogIt in past posts on the importance of cataloging your collection, but here I want to emphasize the fact that because it is cloud based and has a companion phone app, meaning you have your collection with you on your phone at all times. Now, I would recommend creating substantive catalog entries, but if you create even just the most basic entries with attached photos, you will at least have a visual record of your collection. If you add more information like photographers, subject names, regiments, etc., then you will have an even more powerful tool with you when you go to those shows. This software will also track what you pay for items in your collection, so if you want to know if a particular photo is a good deal or overpriced based on what you’ve paid in the past, you have all that information too.

Insurance Purposes

This is a topic no one wants to think about, but it’s a necessary one. If you have a large collection of historical memorabilia, it’s a good idea to have it insured. And to do that you’ll want a good digital record of it backed up somewhere in case the worst should happen and you have to file a claim. It’s a dire motivation to be sure, but something important to consider.

Easy Reference

This dovetails nicely with using catalog software, but if you even just have digital image files on your computer, you can organize them by type, subject, photographer, etc. Once you have them organized it can make it much easier to find the item you’re looking for so that you do not have to go through your collection digging for them.

Easy Research

This ties in nicely with the previous reason because once you’ve found that particular image now you can look at it easily on your computer. You can zoom in and read writing that is too small, see minute details in photographs, and spot equipment, recognize faces, etc. All because photographs are much easier to see on a computer when properly scanned than from a print.

This is also helpful with documents. I have mentioned a couple times in past blog posts the Civil War letters I’ve found that have been traced in ballpoint pen. If you have a letter that is difficult to read you can scan it, and adjust the contrast, levels, etc. digitally until you can read. No ballpoint pens necessary! Seriously though, please don’t use the ballpoint pens…

Preservation

This is the last “why” of this post but certainly not the least. As museums or collectors, historic preservation is one of our most important—if not the most important—thing that we do. If we don’t have the budget to create a nice flashy exhibit, let us at least make sure that items are not degrading in our care.

Every time an item is handled it breaks down. No matter how careful you are or how gentle you are with it, it breaks down. We’ve all encountered those old books and newspapers that seem to just crumble as you look at them. Sometimes it’s not even about how gingerly it’s handled, it’s just the fact that the item in question is so old and so fragile that it cannot be helped. This is why digitizing your collection so that it does not have to be handled is so important.

If you want to look at a specific photograph or read through an old letter again, you can look at the digital version knowing that the original is safely tucked away in archival materials. This ties into that responsibility we have as collectors to make sure that we are good stewards of this history—while we have it. If we do our jobs right, these items will outlive us all and be around for generations to come.

In the next post I’ll go over some digitization tips that may be of help to you if you decide to take the plunge and start scanning your collection. Or, if you decide to punch up your current digital collection with additional scans or cataloging.

How to Label Your Collection

Last week we discussed how museum and archive numbering systems work, and this week we are going to discuss how to label your collection. This is a relatively straightforward process, but there are a few key things to keep in mind as you go. The main rule of thumb is that however you add your catalog number to your object or document, it is done in a non-permanent way. In other words, don’t pull out the Sharpie and start writing all over your things! Sadly, I have seen that happen in museums, and that’s definitely something we want to avoid!

How to Label Your Collection: Writing Directly on the Document Vs. Archival Sleeves

When you’re working with paper or photographic archives there are two schools of thought with regard to how they should be numbered. Some folks will write VERY lightly in pencil the catalog numbers on the bottom right (or left) corner of the document—typically on the back. This way the writing is not visible from the front if it is on display, the writing is reversible because it can be erased, and the size of the writing is very small so that it is not intrusive. This method can work for relatively modern documents. For example, if you have someone’s 1980s era research notes that you are adding into your collection you may choose to number it that way. For Civil War era paper materials (including CDVs), I would hesitate to use this method, simply because the documents are often very fragile—and in some cases disintegrating—to the point that should that number ever be erased, doing so would likely destroy the paper. The advantage of lightly writing the number in pencil on the document directly ensures that it will never be separated from the number. If using this method, do not use a mechanical pencil as it is often too sharp and can damage old paper or leave an imprint that shows through the front. Use a 2B soft leaded pencil, sharpen it, and then use a piece of scratch paper to soften the tip of the lead so that it is a bit duller. The below video shows how to mark papers, photographs, and books using this method.

Personally, the method I prefer (and the one we use at the Research Arsenal) is to write the number on the clear archival sleeve that protects the document. This ensures that the document is not directly affected by the writing. Should the number ever need to be changed it only needs to be placed in a new sleeve with the correct number. You can use a fine point Sharpie to write on the sleeve and the ink will not smear. Be sure it has dried completely before you place a document inside just in case the document touches the ink.

Here is an example of writing the catalog number directly on the archival sleeve.

If your documents are digitized (which they all should be eventually) then there will be minimal need to handle the original documents in the future. If you want to read through them or look up something with them, you only need to use the digital scan, rather than handling the original document which can further degrade it.

How to Label Your Collection: Tagging Objects

How to tag your collection, artifact tags
This is an example of a museum artifact tag sold by Gaylord here.

In this case, I am going to include tintypes (in cases) and ambrotypes as objects as opposed to archives simply because they are not made of paper material. Anything not made of paper will typically fall into the object category and use tags. Tintype photos not in cases can be safely stored in archival sleeves and can be numbered using the above method of numbering the sleeve.

Objects will need an archival tag which consists of a small square of archival cardstock strung on a loop of archival string. These come in all sorts of sizes and shapes and can be used on a variety of objects. They are also easily removed if need be and can be arranged in such a way that they are not obtrusive if the object is on exhibit.

To use a tag, you will want to write the catalog number on the tag and if there is room, a one- or two-word description. A tag for a M1851 Colt Navy Revolver might look like “2025.002.0014 M1851 Colt Navy Revolver” and that’s it. You can shorten or lengthen in to your preference, the intention being that it allows you to easily identify what item the tag goes with, should it become separated, and also so that you can easily identify what the object is without needing to look it up. To write on the tags you can use the fine point Sharpie again.

You’ll want to loop the tag around the object in some fashion so that it is unlikely to fall off. In the above example of the Colt Navy Revolver, you could loop it around the trigger guard. For objects that don’t have an obvious way to loop the tag, you’ll have to get a bit more creative. You can tuck the tag inside the case of a tintype, loop it around a buttonhole, tuck it in the band of a hat, etc. It will vary from object to object. No matter what the object is and how difficult it is to find a way to secure the tag, do NOT tape, glue, or otherwise use adhesives to attach it. If you are working with small objects, maybe say, Minie balls, you may wish to keep them in a small Riker mount and then tag the mount or keep them in a small archival box with the tag inside the box. The most important thing to consider in all of this is that what we are doing does not have any permanent effect on the object.

I’ll leave you with this link to some “horror stories” of museum numbering fiascos that you may find entertaining. Whatever you do, don’t do what these folks did! https://world.museumsprojekte.de/how-not-to-number-objects/

JOIN THE RESEARCH ARSENAL COMMUNITY TODAY.