Christmas During the Civil War: Voices from the Front and Home

The Civil War did not pause for the holidays, yet Christmas still came. For soldiers and families separated by hundreds of miles, the season carried deep emotional weight. Christmas became a moment to remember home, to write letters, to pause — however briefly — and to imagine a future beyond war. Through letters, diaries, and firsthand recollections, the voices of the Civil War era reveal how Americans experienced Christmas amid hardship, hope, and uncertainty.
A Christmas Truce on the Rappahannock
By the winter of 1862, the war had already exacted a terrible toll. Only weeks after the bloody Battle of Fredericksburg, Union and Confederate armies faced one another across the frozen Rappahannock River in Virginia. Entrenched on opposite banks, the soldiers were locked in a tense stalemate — close enough to see one another clearly, yet divided by violence and loss.
Among the Union pickets that Christmas morning was John R. Paxton, an eighteen-year-old private. Years later, Paxton reflected on how the familiar pull of Christmas softened even the hardest edges of war:
“It was Christmas morning. The ground was covered with snow, and the river was full of floating ice. We were on picket duty along the river bank, cold and hungry, thinking of home and friends far away. About mid-morning a Confederate called out, ‘Good morning.’ We answered, and then came the greeting, ‘Merry Christmas.’ Soon laughing and talking was going on all along the line.”
What began as simple conversation soon became something extraordinary. Paxton remembered how the spirit of the day overcame suspicion and fear:
“Before long some of our boys launched a little boat and sent it across the river loaded with coffee and sugar. It came back with tobacco and pork. The trading went on for several hours. We exchanged newspapers, jokes, and compliments, and wondered how it was possible that we could be shooting at one another one day and swapping Christmas greetings the next.”
This brief, unofficial truce was never sanctioned by officers, nor did it last. Yet it lingered in memory — a reminder that even amid brutal conflict, soldiers could still recognize one another as fellow human beings on Christmas Day.
A Father’s Christmas Letter from Camp
While some soldiers experienced moments of shared peace, most spent Christmas far from home, marking the day quietly through letters. Writing home became a crucial emotional ritual — a way to maintain family bonds despite distance and danger.
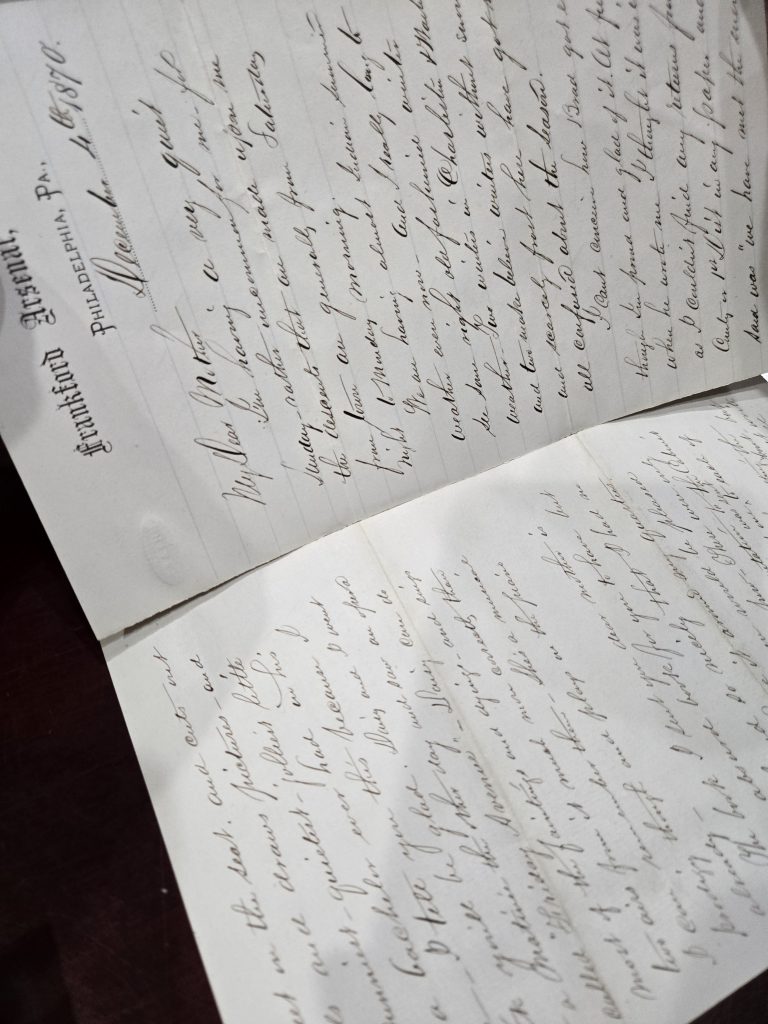
On December 25, 1861, Lieutenant Andrew F. Davis wrote from Camp Wycliff, Kentucky, to his young daughters, Orrilla and Nan. Like many fathers in uniform, Davis carefully shaped his words to comfort his children while keeping the harsher realities of war at bay:
“Merry Christmas, my dear children. I hope you are having a happy day and that Santa Claus has been good to you. Although I am far away from you, I think of you very often and wish I could be at home to see you enjoy yourselves.”
Davis understood the power of familiar imagery. He described camp life in gentle terms, choosing scenes that echoed the warmth of home:
“Our tents look very pretty at night, lighted up as they are, and remind me of home. We do not have many of the comforts you have, but we make ourselves as comfortable as we can and try to keep cheerful.”
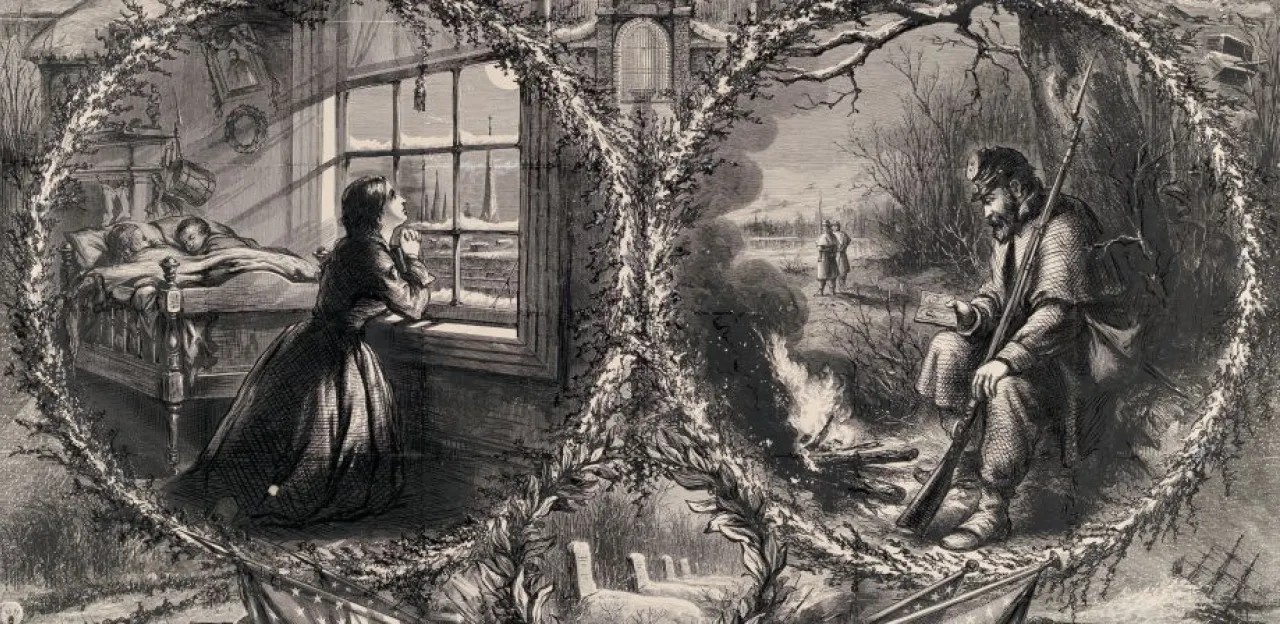
Still, the separation weighed heavily on him. Beneath the festive language was a longing shared by thousands of soldiers:
“It is hard to be away from home on Christmas Day, but I hope the time is not far distant when we shall all be together again.”
Letters like Davis’s carried the emotional burden of war, sustaining families on both ends of the page.
Four Christmases Through a Soldier’s Eyes
As the war dragged on, Christmas changed — and few sources capture that evolution more clearly than the diary of Union Corporal Henry Keiser. Serving year after year, Keiser recorded four consecutive Christmases, offering a rare longitudinal glimpse into how hope slowly gave way to fatigue.
In 1861, the war was still new, and Christmas retained much of its familiar warmth. Stationed near Alexandria, Virginia, Keiser wrote:
“Christmas Day. We rested today and had a very pleasant time. Received letters from home which made me feel much better. Took dinner with a friend and enjoyed myself very well.”
By the following year, experience had hardened expectations. On Christmas Day, 1862, his tone was starkly different:
“Christmas Day. This has been a poor Christmas. Cold weather and hard times. Received no letters today. The boys had some whiskey, but it did not make it much of a Christmas.”
In 1863, duty eclipsed celebration altogether. Keiser recorded the day with resignation rather than complaint:
“Christmas Day. On guard today. Very cold. Received a box from home with some things in it which I was glad to get. It is hard to stand guard on Christmas, but such is a soldier’s life.”
By Christmas 1864, the war had become a way of life. Keiser’s entry was brief, weary, and telling:
“Christmas Day. Spent near Petersburg. Saw some relatives for a short time. Received a letter from my wife. This is the fourth Christmas I have spent in the army.”
Across four years, Christmas shifted from celebration to endurance — a marker of time passing rather than joy regained.
A Confederate Santa Writes Home
As the war entered its final winter, hardship weighed heavily on the Confederate home front. Shortages, separation, and uncertainty shaped even the most cherished traditions. Yet parents still tried to shield their children from despair.
On December 25, 1864, Confederate Captain Benjamin Wesley Justice wrote a Christmas letter to his children while serving as a commissary officer. Writing in the voice of Santa Claus, he blended affection with honesty:
“Merry Christmas and a Happy New Year to my dear children. I would be glad to bring you many presents, but Santa Claus is very poor this year. Still, I hope you will be happy and remember that you are dearly loved.”
Justice could not avoid acknowledging the true wish behind the holiday:
“Oh, how much merrier and happier it might be to us all if this cruel war was over and we could all be together again at home.”
His letter echoed a sentiment shared across the divided nation — that peace, not presents, was the greatest Christmas gift of all.
Christmas in a Nation at War

Christmas during the Civil War was never uniform. Some soldiers experienced brief moments of peace, others stood lonely guard in bitter cold, and many marked the day only by writing home. Yet across camps, battlefields, and hearths, Christmas remained a powerful emotional anchor.
Through their own words, soldiers and families revealed what the holiday meant in wartime: remembrance of home, affirmation of love, and hope for reunion. Even amid violence and division, the spirit of Christmas endured — preserved in letters, diaries, and memories that continue to speak across generations.
For more first-hand accounts of Christmas during the Civil War, the Research Arsenal database currently has over 500 search results in the Letters Library transcriptions for the term “Christmas.”
Bibliography
American Battlefield Trust. “Christmas on the Rappahannock.”
[https://www.battlefields.org/learn/primary-sources/christmas-rappahannock]
American Battlefield Trust. “Christmas During the Civil War.”
[https://www.battlefields.org/learn/articles/christmas-during-civil-war]
University of Iowa Libraries. “A Civil War Christmas Letter.”
[https://blog.lib.uiowa.edu/studio/2011/12/22/a-civil-war-christmas-letter]
Wynning History. “Four Christmases of the Civil War”
[https://wynninghistory.com/2020/12/25/four-christmases-civil-war]
Emerging Civil War. “Coal from Confederate Santa: Christmas 1864”
[https://emergingcivilwar.com/2015/12/22/coal-from-confederate-santa-christmas-1864]