The 1st Kentucky Cavalry: Wild Riders of the Union
A Regiment Born in Division
In 1861, Kentucky stood on a knife’s edge. Families and neighbors split over Union or Confederate loyalties, and the border state quickly became a hotly contested battleground. From this divided soil sprang the 1st Kentucky Cavalry (Union) organized at Liberty, Burkesville, and Monticello and mustered into service on October 28, 1861.
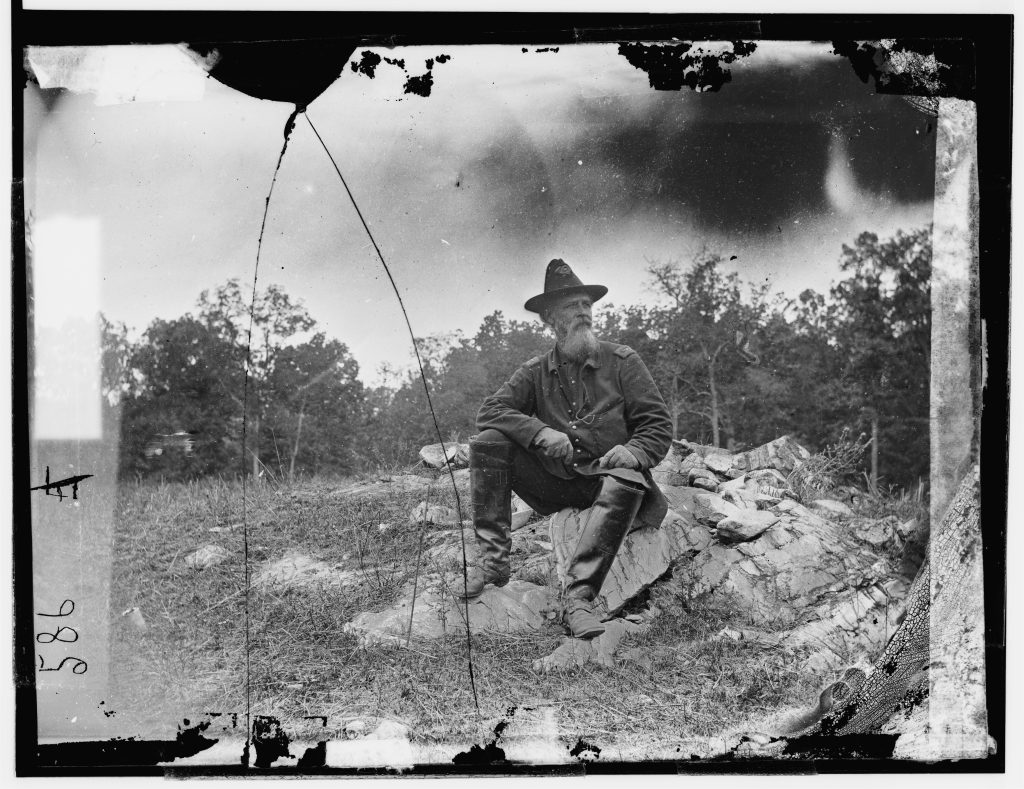
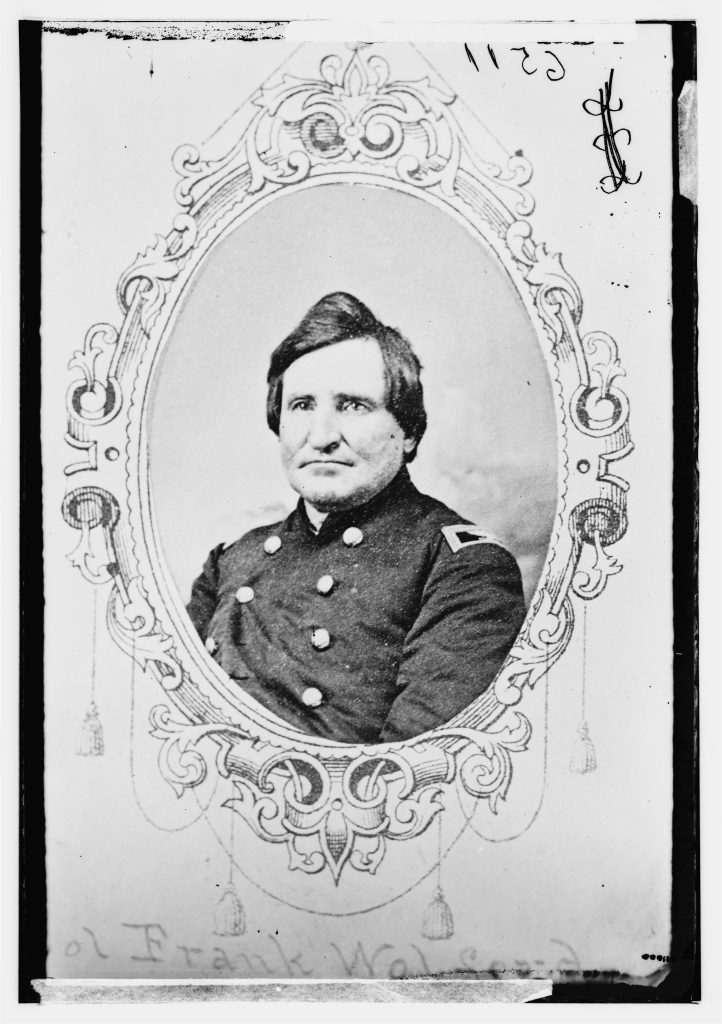
Colonel Frank Lane Wolford, a bold and outspoken Kentuckian, assumed command. Wolford’s men soon earned a nickname that stuck—the “Wild Riders”—a nod both to their hard campaigning and their reputation for individuality. Even their structure was unusual. Where Civil War regiments used companies A through M (skipping J), the 1st Kentucky Cavalry fielded a Company J, marking them as unconventional from the outset. Company J was very rare to see during the war as it was easily mistaken for Company I both visually and in written documents.
Baptism of Fire in Kentucky
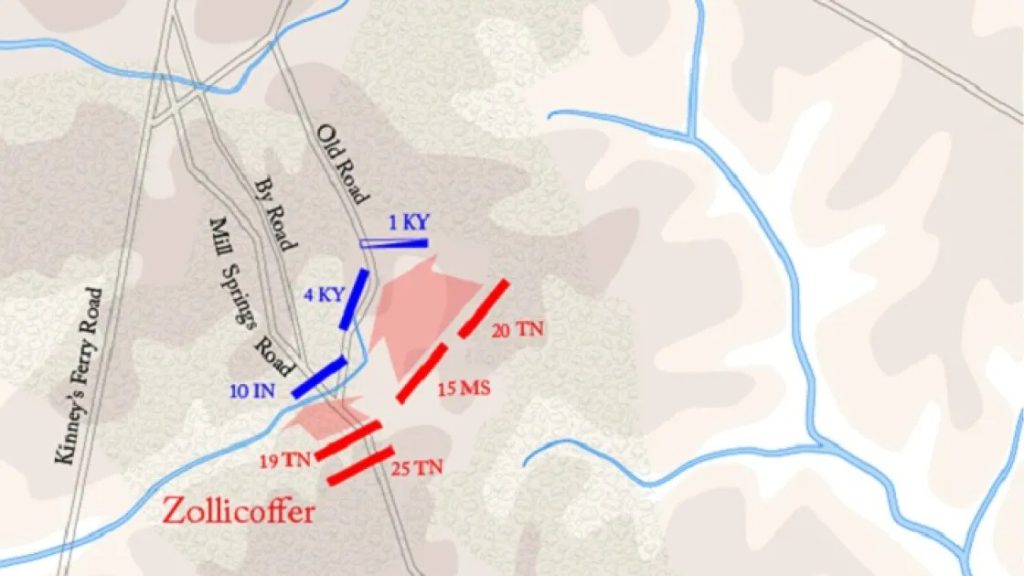
The regiment’s first months of service were spent close to home, skirmishing with Confederate raiders in central Kentucky. The men were still raw recruits, yet their duties demanded toughness from the start. They scouted long miles of road, stood picket in cold autumn nights, and learned the shock of combat at places like Mill Springs.
Their own regimental historian later wrote that the unit was defined by “rapid and severe marches, hard service, and fierce conflicts on many a bloody field.” That hard service quickly became their daily reality.
The Perryville Campaign
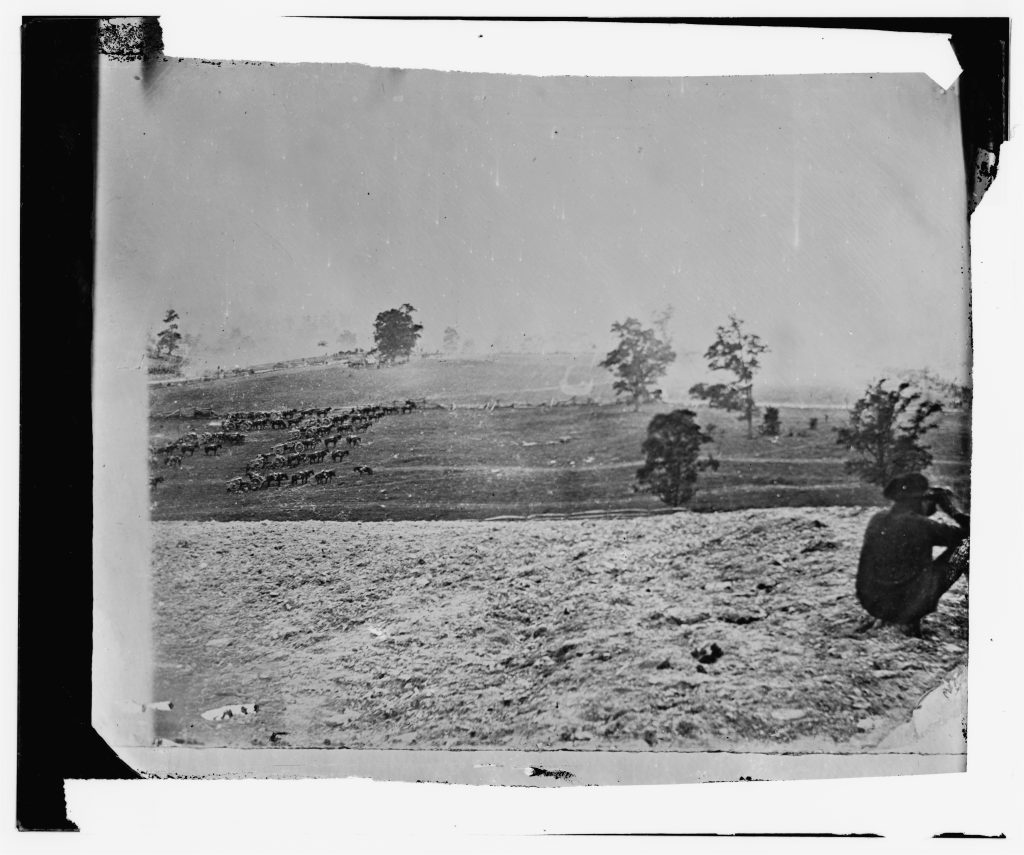
When Confederate General Braxton Bragg invaded Kentucky in the fall of 1862, the 1st Kentucky Cavalry was called upon to shadow his movements. At Perryville, the largest battle fought on Kentucky soil, the regiment served on the flanks, skirmishing and screening. After the Confederate retreat, the cavalry pursued Bragg’s army southward in grueling marches through dust and hunger.
The campaign revealed the regiment’s endurance, but also its humanity. One cavalryman remembered that “the boys had had nothing to eat for two days, and many fainted from hunger and fatigue, yet not one left his place in the ranks.” Such moments showed the grit that sustained the regiment through the war.
Hard Riding in Tennessee
After Perryville, the regiment shifted south into Tennessee, where duty was even more unpredictable. Here they confronted not only Confederate cavalry but also guerrilla fighters. Daily service included scouting dangerous mountain passes, raiding supply lines, and fighting off ambushes.
There were lighthearted moments amid the tension. On one scouting expedition, a small squad surprised a Confederate outpost. Instead of fighting, the Union troopers leapt from their horses, “captured the enemy’s breakfast,” and rode off laughing, leaving the astonished Confederates to chase them too late. Such “amusing incidents” became campfire stories that lightened the soldiers’ weary days.
But East Tennessee was also a place of tragedy. Captured Union cavalrymen were often sent to notorious Confederate prisons. One veteran recalled “pathetic scenes” in the camps, where comrades “lay stretched upon the bare earth, wasted to skeletons, yet still clinging to life with desperate hope.”
Thrilling Adventures and Close Escapes
Cavalry service produced moments of hair-raising adventure. One tale tells of a trooper cut off during a skirmish. Surrounded, he spurred his horse to a desperate leap over a rail fence and tore through a cornfield with Confederates in hot pursuit. “Bullets whistled around him,” the account reads, “but he escaped unharmed, to the wild cheers of his comrades.”
Another man, taken prisoner in Tennessee, managed to trick his guards by feigning illness. When left unattended, he slipped away under cover of night, surviving for days on green corn before rejoining his regiment. His “thrilling escape” became a source of pride for his company.
These stories—half grim, half heroic—illustrated the life of the “wild riders,” where every march might bring danger or absurdity.
Into Georgia and the Atlanta Campaign
By 1864, the 1st Kentucky Cavalry was seasoned. Their skills were put to full use in General William T. Sherman’s drive on Atlanta. The regiment helped raid Confederate railroads, burning bridges and tearing up track to cut the lifelines of the besieged city.
At one point they rode more than fifty miles in two days, surviving on handfuls of cornmeal, just to reach their objective. A trooper later remembered, “Our saddles were never dry, our horses never rested, yet still we pressed on, for the fall of Atlanta depended upon our speed.”
These raids were exhausting, but they helped choke off Confederate supplies and hastened the fall of the city, one of the great turning points of the war.
Leaders and Characters
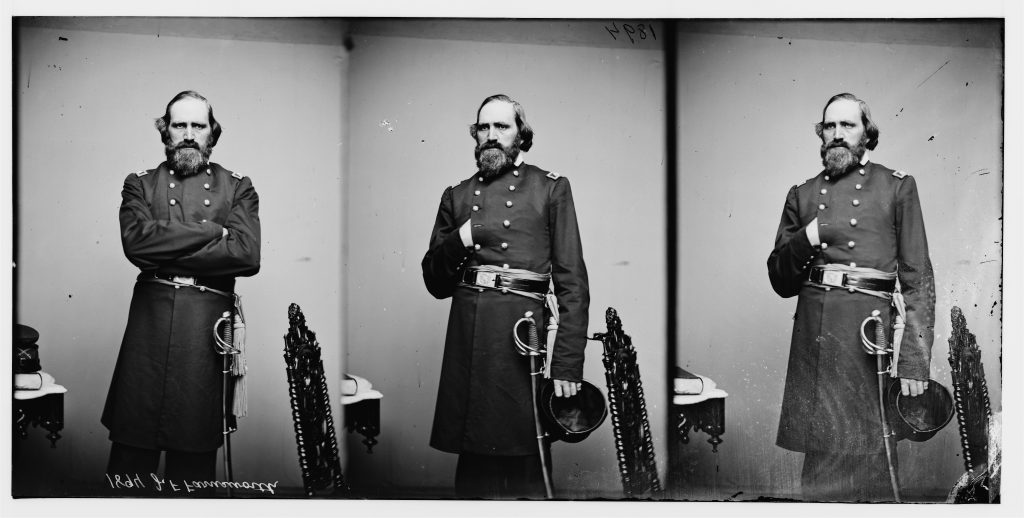
Colonel Wolford’s leadership defined the early regiment. Courageous to a fault, he once led a charge so recklessly that his own men joked, “The colonel never saw a gray coat he did not wish to chase.” Wolford also became notorious for criticizing Union authorities, especially over emancipation policy, which eventually led to his arrest and resignation.
Other officers rose in his stead, including Silas Adams, who served ably and went on to a career in Congress. The regiment’s leadership was as colorful as the rank and file, reinforcing their “wild” reputation.
Muster Out and Memory
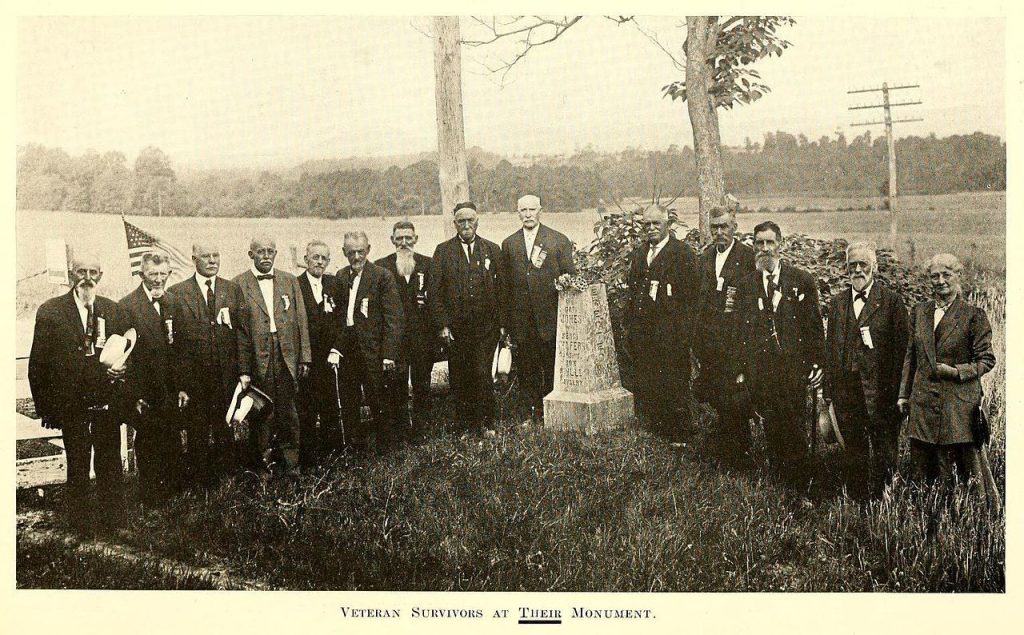
As enlistments expired, the regiment mustered out beginning on December 31, 1864, though some elements remained until September 1865. By then, the war was all but over. The 1st Kentucky Cavalry had carried the Union banner through Kentucky, Tennessee, and Georgia, fighting in dozens of skirmishes and campaigns.
When the survivors looked back, they remembered both the misery and the humor of their service: the “pathetic scenes” of prison camps, the “amusing incidents” of stolen breakfasts or pranks, and the “thrilling adventures” of desperate rides and escapes. These words became part of their story, capturing the extremes of Civil War cavalry life.
Legacy of the Wild Riders
The legacy of the 1st Kentucky Cavalry rests not only on their military record but on their identity as Kentuckians fighting for the Union in a divided state. Their odd structure—with its rare Company J symbolized their unorthodox character. Their leaders were bold, their troopers resilient, and their stories a mixture of tragedy and humor.
In their own words, they were men of “rapid and severe marches, hard service, and fierce conflicts on many a bloody field.” During their service they carried the Union cause on horseback, and the “wild riders” of the 1st Kentucky Cavalry stand as a testament to the endurance, daring, and humanity of the Civil War soldier.
To learn more about the 1st Kentucky Cavalry, I recommend reading “The Wild Riders of the First Kentucky Cavalry: A History of the Regiment, In the Great War of the Rebellion” by Sergeant E. Tarrant. You can see a PDF of it here: https://dn790008.ca.archive.org/0/items/wildridersoffirs00tarr/wildridersoffirs00tarr.pdf
Another site with some good information on the 1st Kentucky is here: https://freepages.rootsweb.com/~bigsandyvalley/military/Union%20Regiments%20of%20Kentucky/1kycav.html
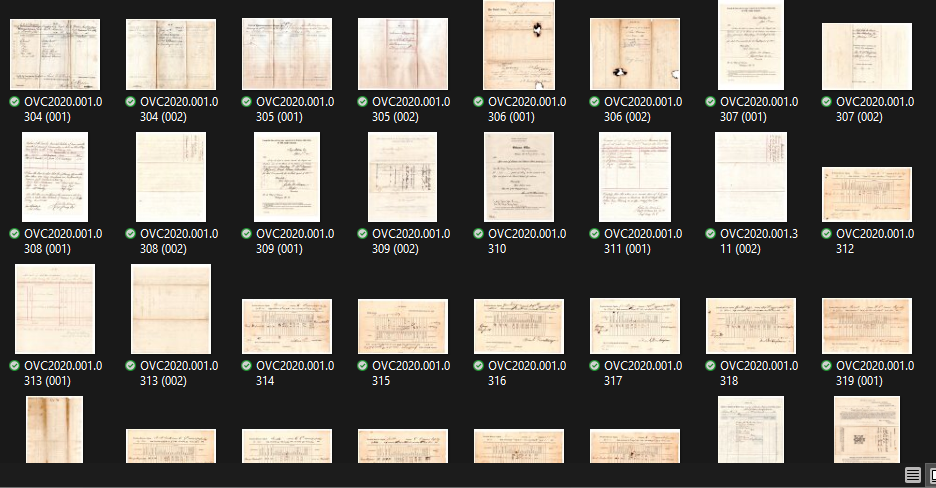
On the Research Arsenal Database, we have a number of documents relating to the 1st Kentucky Cavalry. Simply select the Library you wish to view and filter by regiment. There are seven letters that come up on search as well as numerous ordnance returns and other military forms.